It's called 'Put-put'

Your Toyota

Moderators: dr.occa, CBR_TOY

allenpdx
Tourist
Posts: 14
Joined: Wed Apr 10, 2013 9:38 pm

It's called 'Put-put'

Post by allenpdx »

I feel a background is necessary when joining a new forum.
Name is Allen, I reside in a small town in Washington state. Moved from Portland, OR.

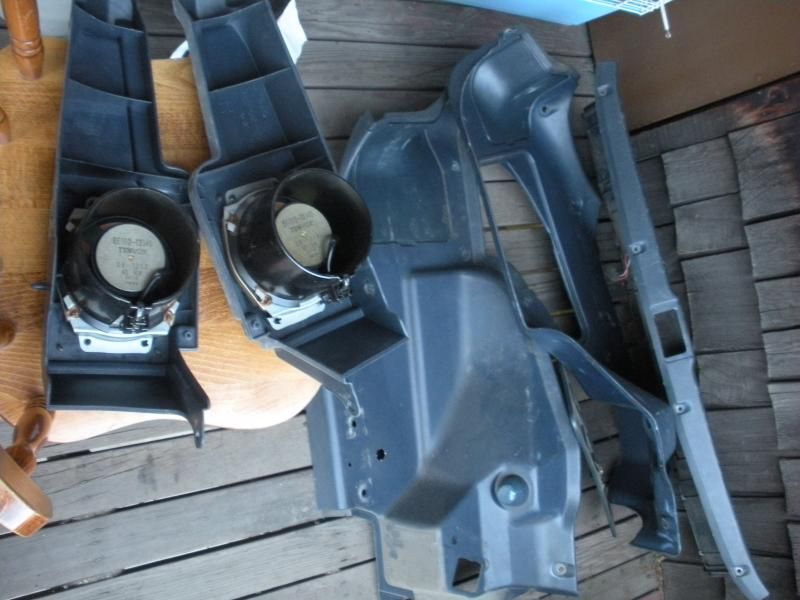
Keep in mind, while owning these cars what I did for fun was junkyard raiding. I would purchase all the contents of a car from a yard and cart it home.
At a point, I had an entire car in the garage minus the shell and glass. I had enough left over to build another car minus interior and a couple body panels.
Image

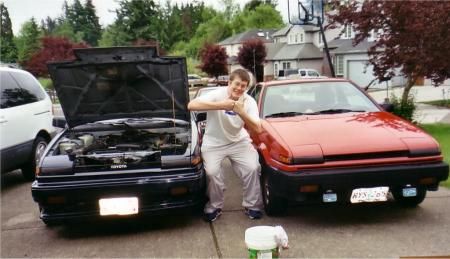
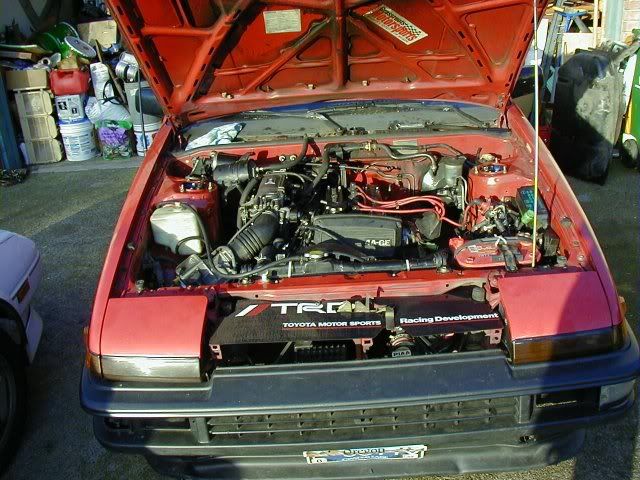
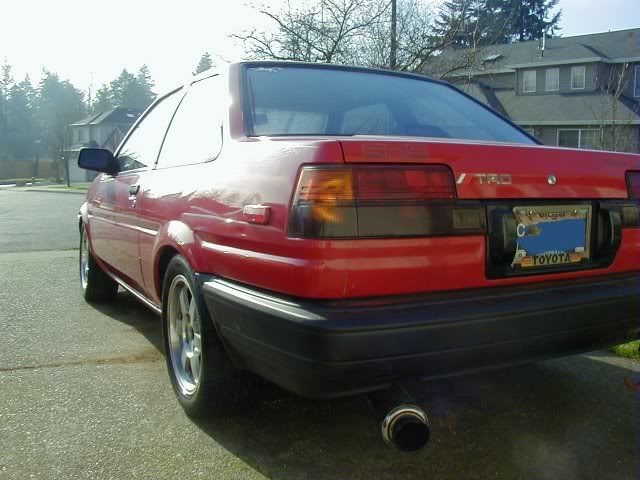
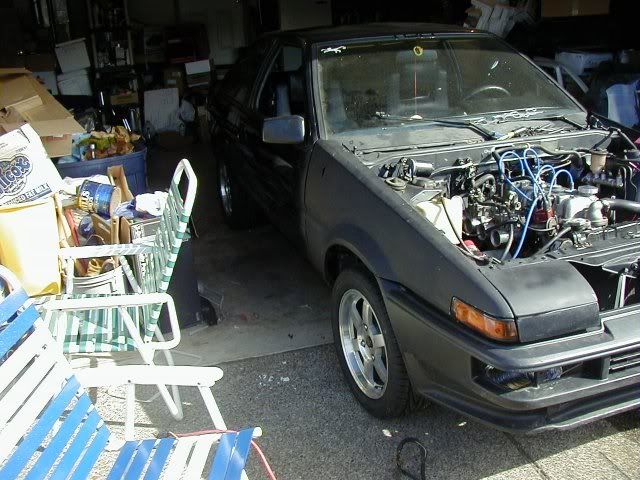
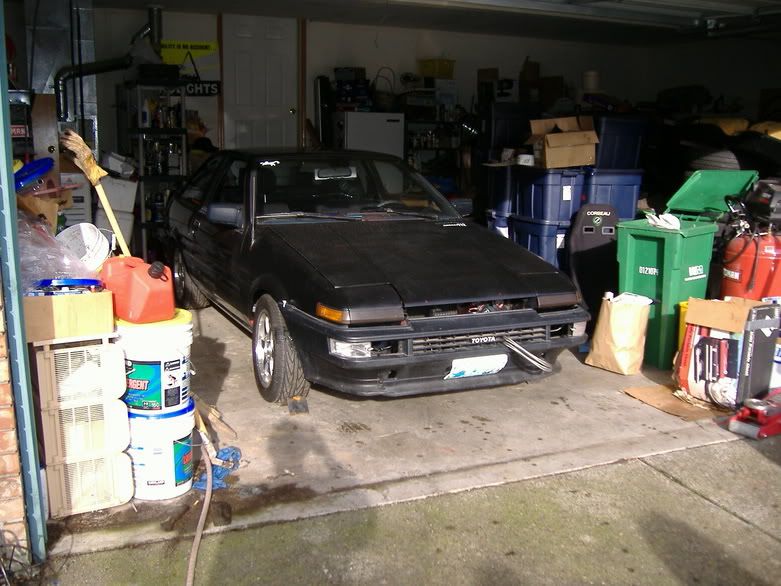
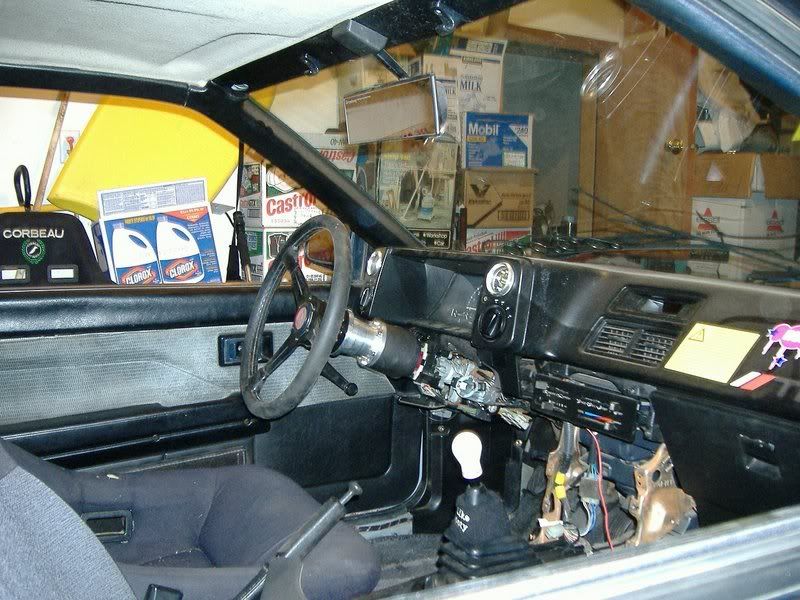
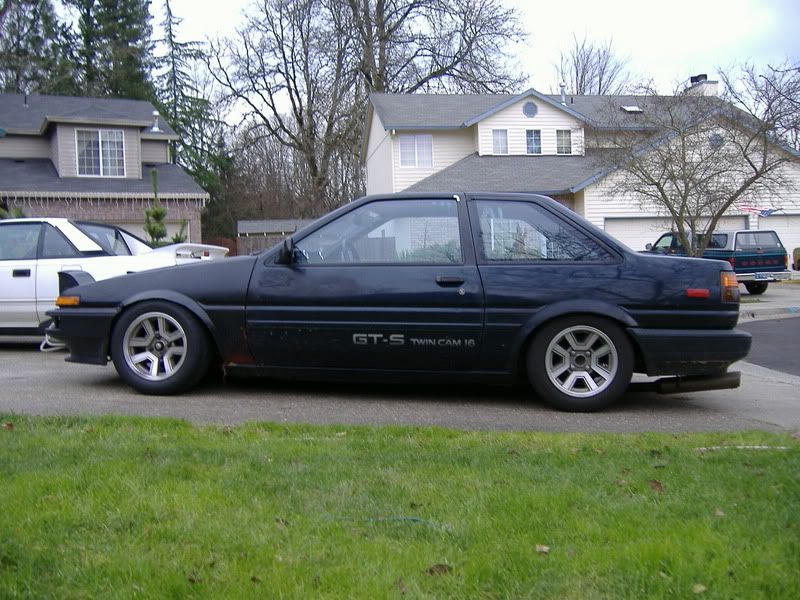
I bought my first AE in 2002, an 87 SR5 Coupe with quarter panel damage. Basically the one no one ever wants. Paid 750 for it. Ran like a champ for 3 years but leaked oil like no ones business. The GTS Swap happened in early 2005. Everything from a GTS was swapped over including the power mirrors. Had a rebuilt motor, dynoed at 99hp at the wheels.
Image
Image
Image

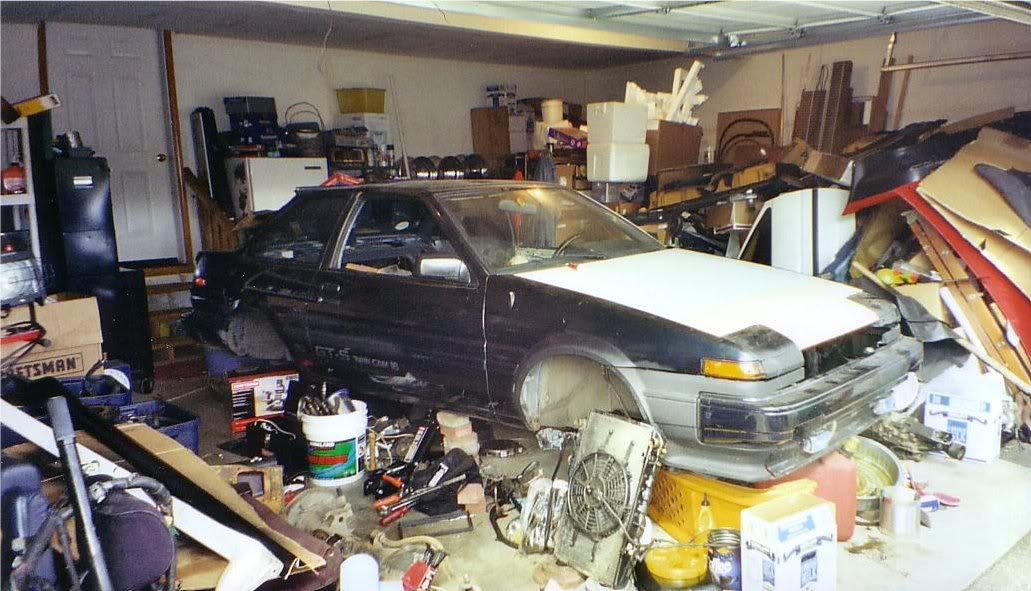
My other pride was an 86 GTS Coupe I bought north of Seattle in a little town near the coast. I got it back, neglected to check the coolant one day and overheated the motor and blew the headgasket. I had a 'friend' who would help me with some of this car stuff, taught me a little bit but mostly stole from me. This car sat for years without a motor and rear axle (sold to a friend while this sat idle).
Image
Image

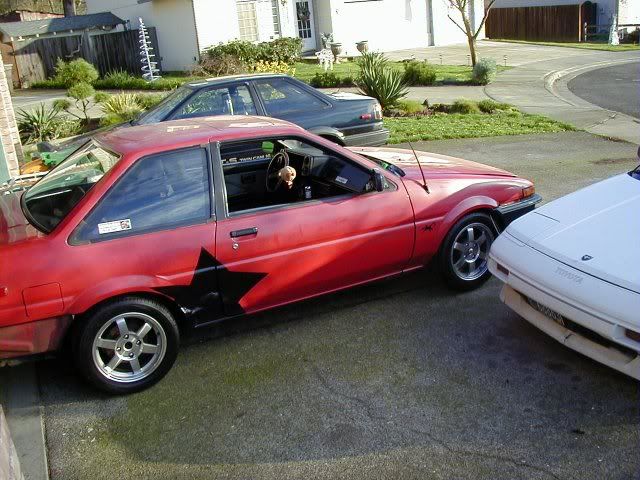
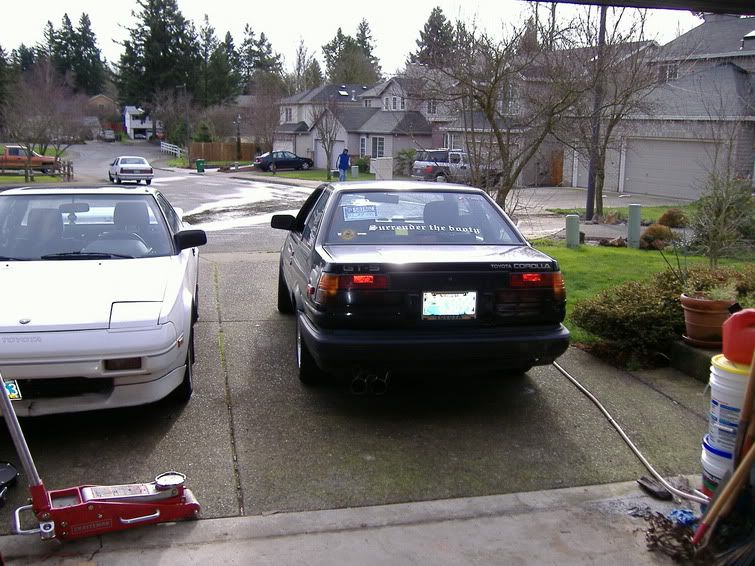
I was able to purchase a 3tc swap with sidedraft (I think mikuni 44s) carbs. It was a bolt in, simple, couple wires. I also had finally found another LSD axle and threw it in the back. I drove this around for a bit, it mostly sat because it was incredibly loud. It shot fireballs all the time, ran rich, burned the eyes. It wasn't super fast, but it was stupid and stupid made a lot of friends.
Image
Image
Image
Image

While in Spokane, WA visiting a friend at Gonzaga my GTSR5 had an electrical fire and burned. Had a good friend (whom I lost contact with now) help me and tow it back. I am still appreciative to this day.
Image

I stripped the GTSR5 and took the 4age down to a short block and resealed it, put it back together and threw it back into the GTS where it belonged.
Image
Image

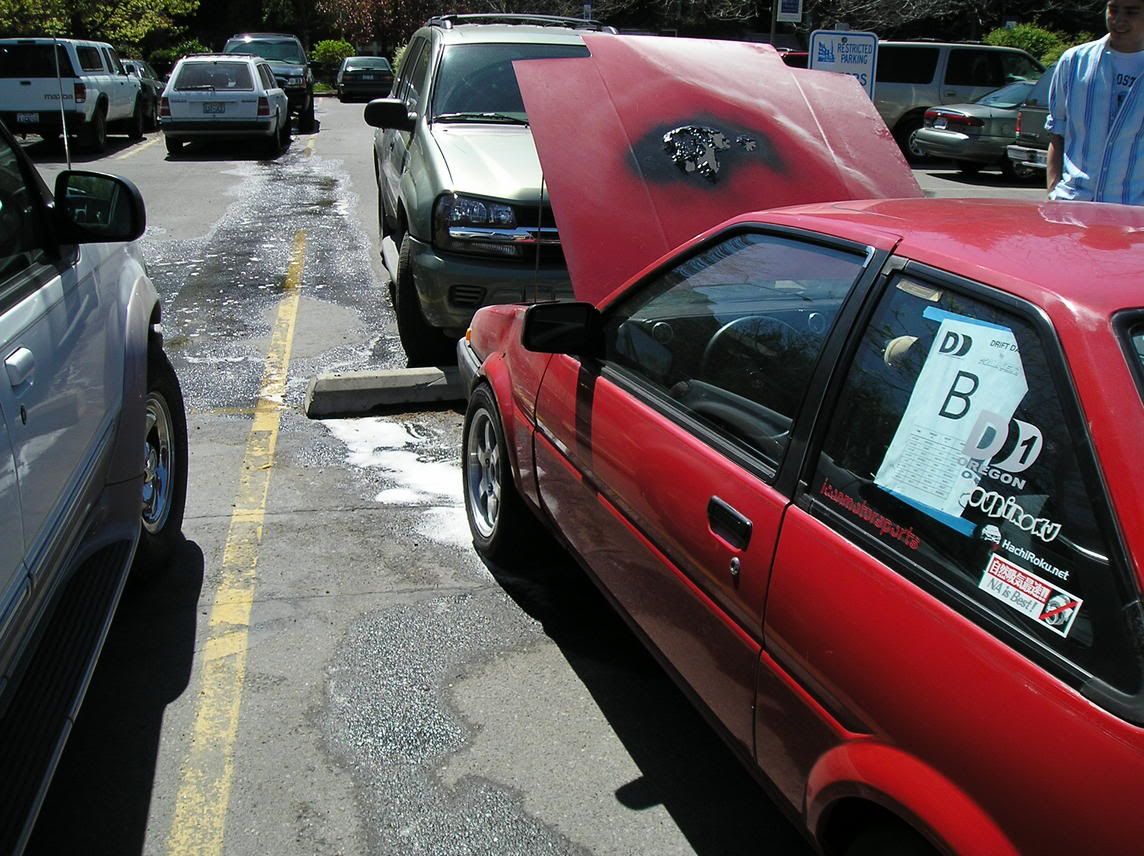
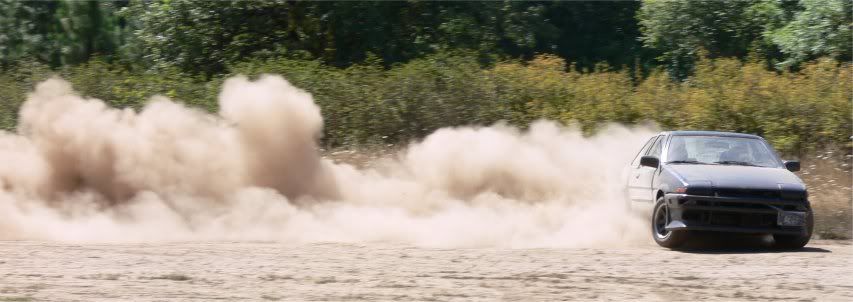
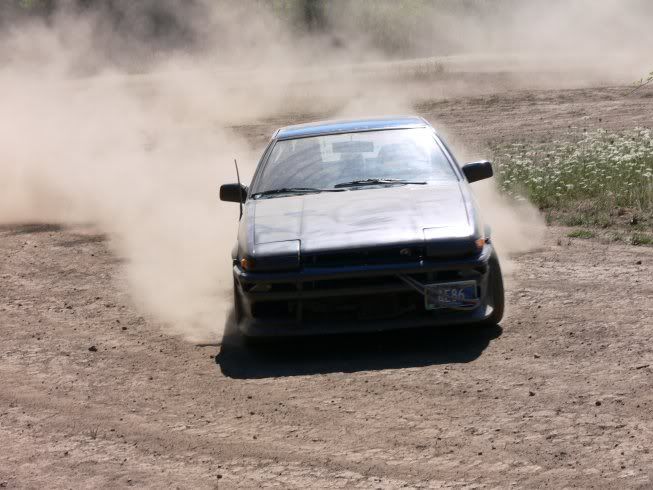
Bought some front bumper that was 'cool' back in 2006 or 2007 and went dirt drifting. If there was anything loose on the car, you would have found it after 5 minutes. A group of 5 of us did this for at least 6 hours.
Image
Image

After collecting parts for a year, I was ready to redo the suspension and steering. Added a GTS manual rack, column with hub extension, SPL coilovers, extended lower control arms, NCRCAs, Swaybars, and SS HTS rear shocks.
Image
Image
Image

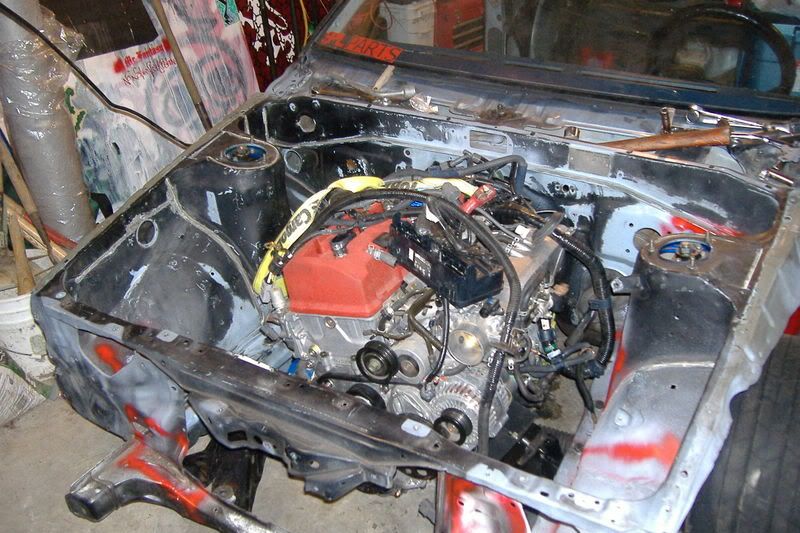
At the end of the road in 2007/2008 I was working on a F22 Swap from a wrecked S2000. I never got it fully done.
Image
Image

TODAY
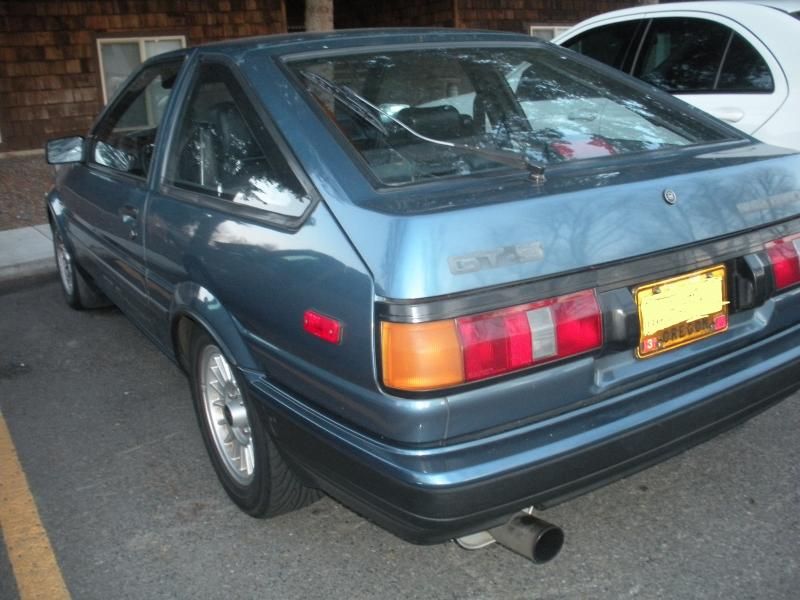
At the beginning of April I have purchased a 1986 hatchback from my friend James. I purchased the car before I had even gotten it road worthy because I knew he took great care of this thing and I have purchased other vehicles from him before. It needed brake work, I put in a new master cylinder and booster over the weekend to get it road worthy. I had a clutch master to put in at the same time but I accidentally ordered the wrong one.

I intend on restoring the vehicle, not to factory but a resto-mod.
I did the stripped out corolla thing years ago and I don't want to venture down that route again. It was fun and wild to drive my old corolla but I want to drive this daily and without problems. The end product for this car would be a 1UZ swap. There will be a lot of work before that.
I will try and bring informative DIY segments for everyone as I do things along the build.

Image
Image
Image

I had ordered a couple of things and decided that today would be a good day to fix up some parts of the car.
On the schedule:
-Spark Plugs, Cap, and Rotor
-Front Brakes - Rotors, Pads, Bearings, and Lines
-Rear Brakes - Rotors, Pads, Lines, and center brake line
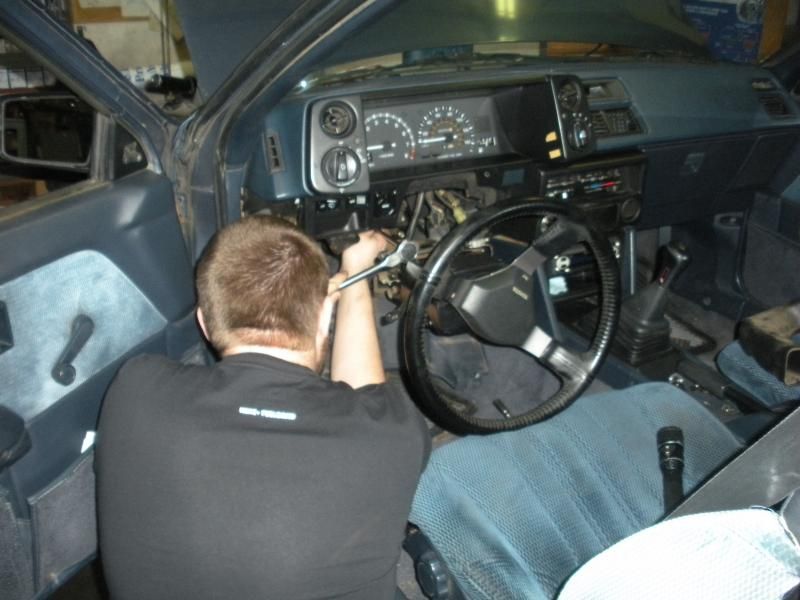
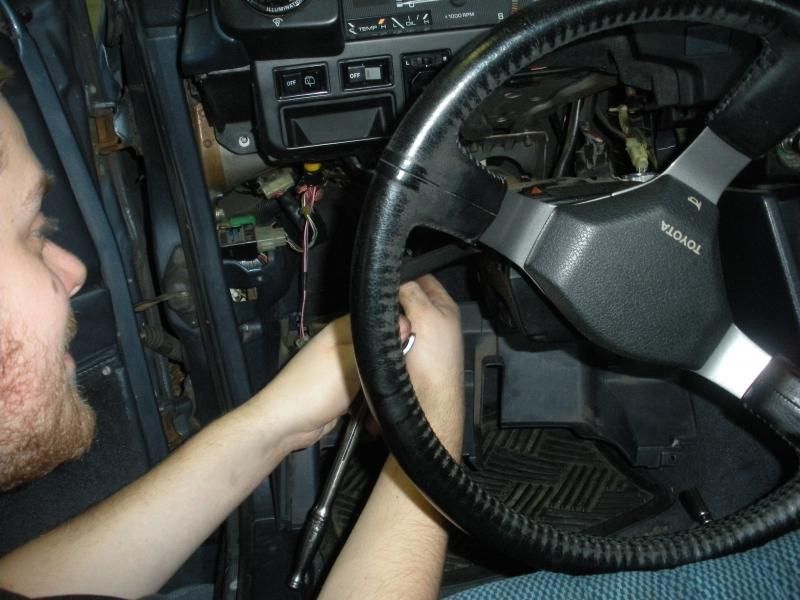
-Clutch master cylinder, clutch line, and slave
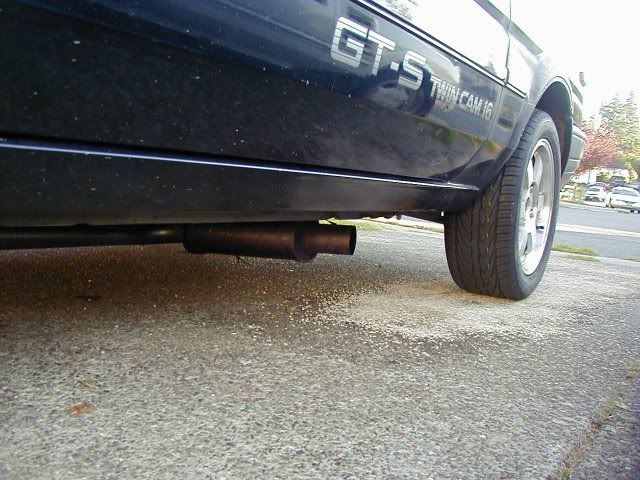
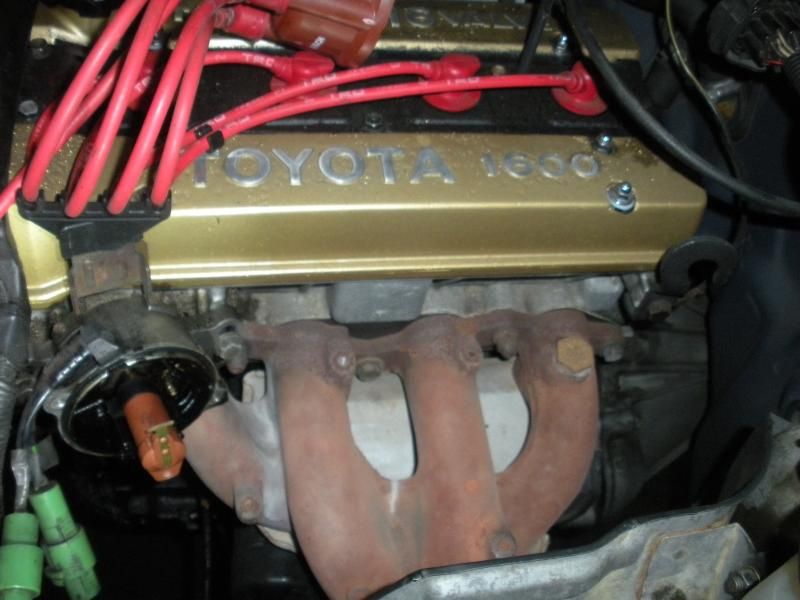
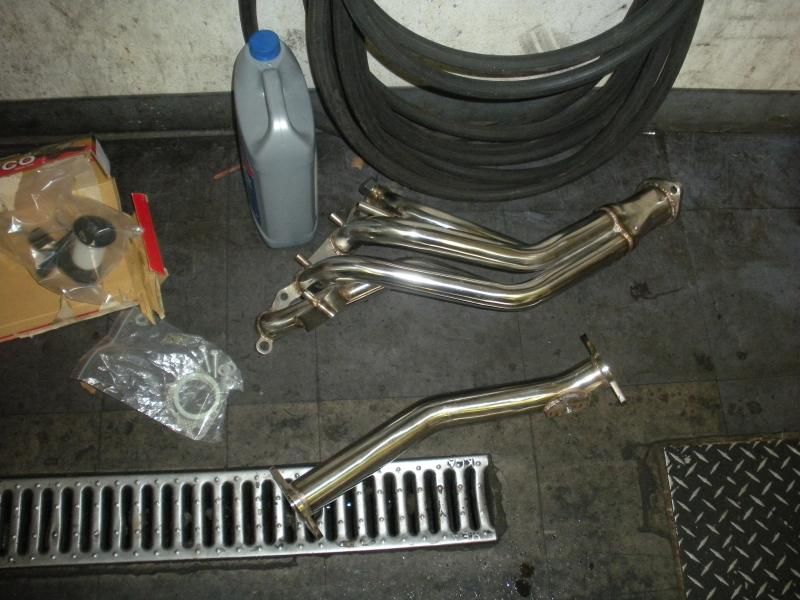
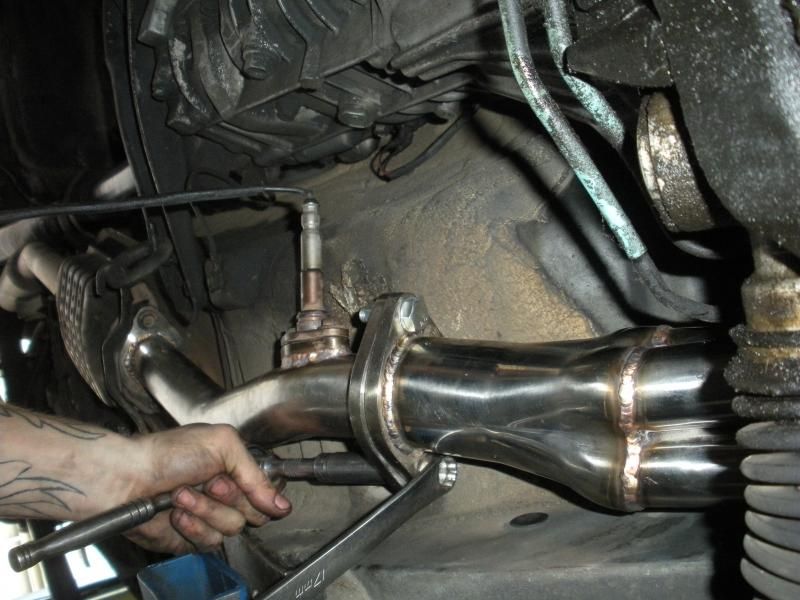
-Exhaust manifold
-Oil Change

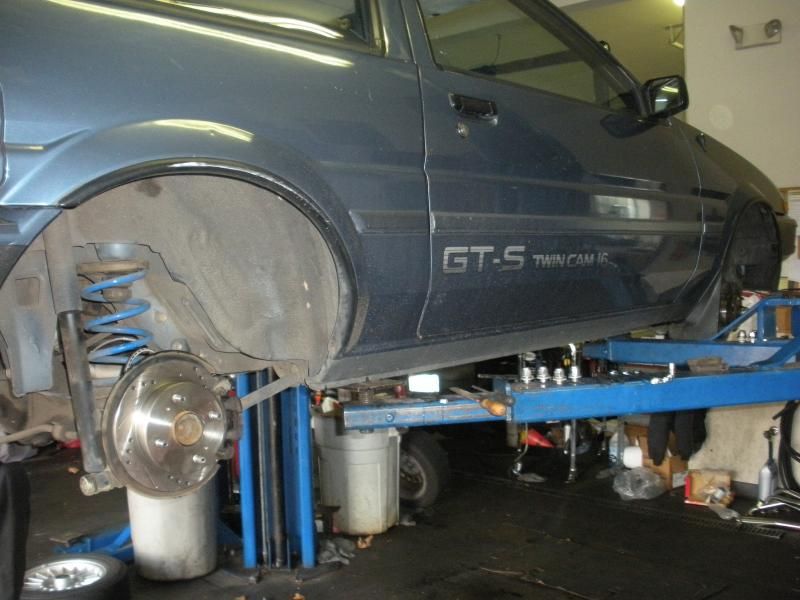
First order of business. Get it in the air and start on the brakes.
Image

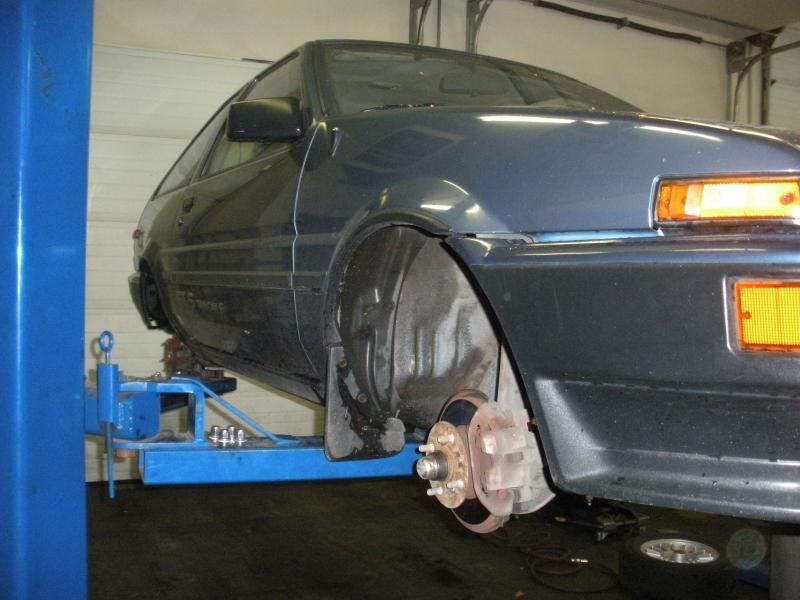
Got one side done fairly quick. :thumbsup:
Image

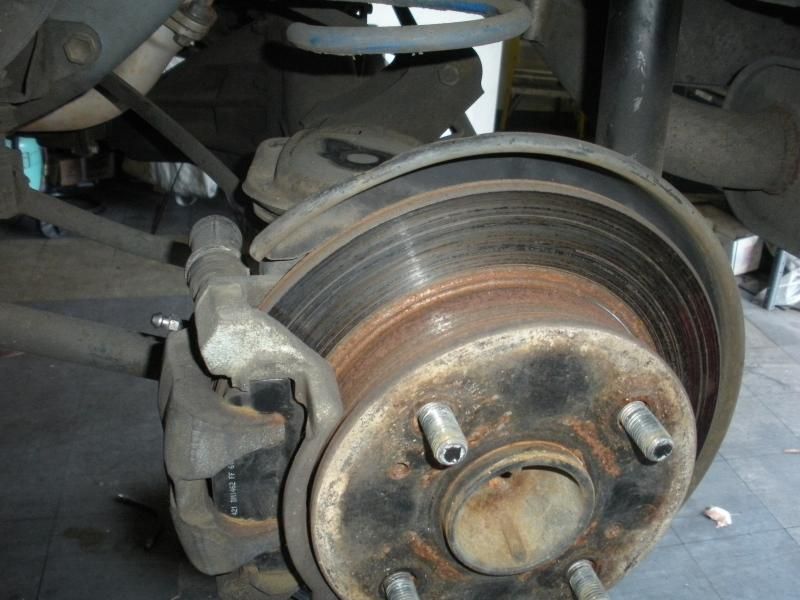
This was the drivers side. The sliders were dry and had no grease.
Outside pad was nearly on metal, inside was worn diagonally.
Image

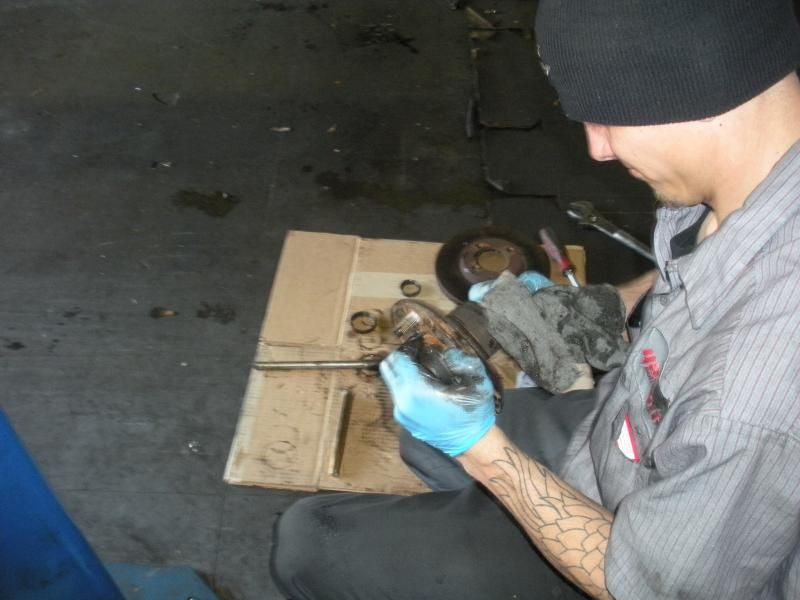
My co-worker Steven was helping me out through out the day. He actually did the header install on his own.
Image

Rockin' and Rollin' around the car.
Image

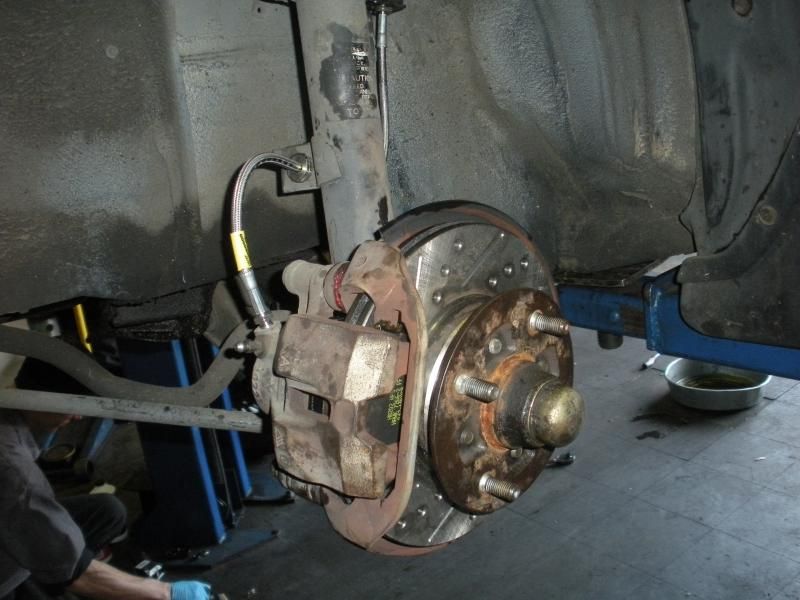
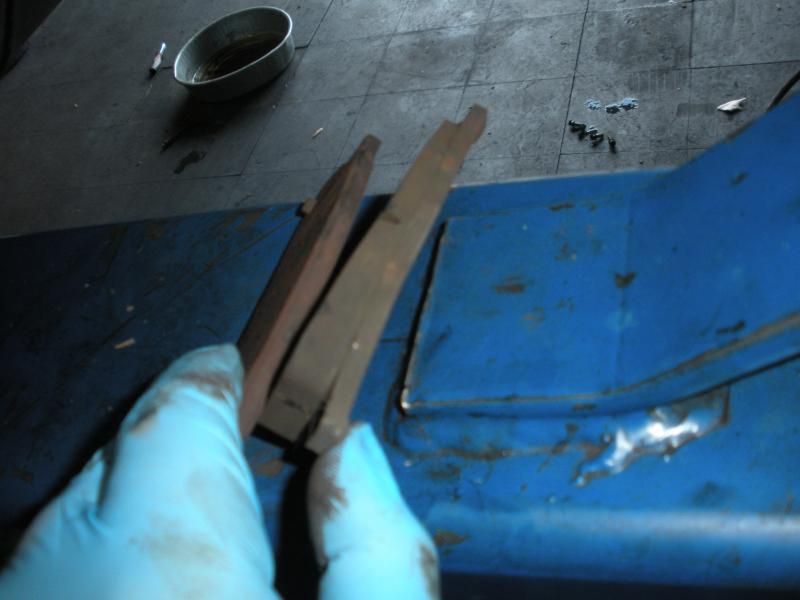
This was the last set I did, Drivers side rear. The rotor was badly grooved, like a record. The rear brake pads looked new, but since I had bought a complete brake system, I changed them anyway. Sorry, I didn't keep the pads.
Image

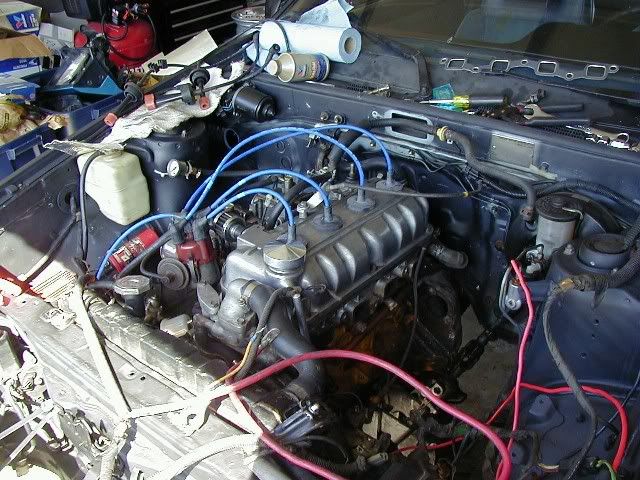
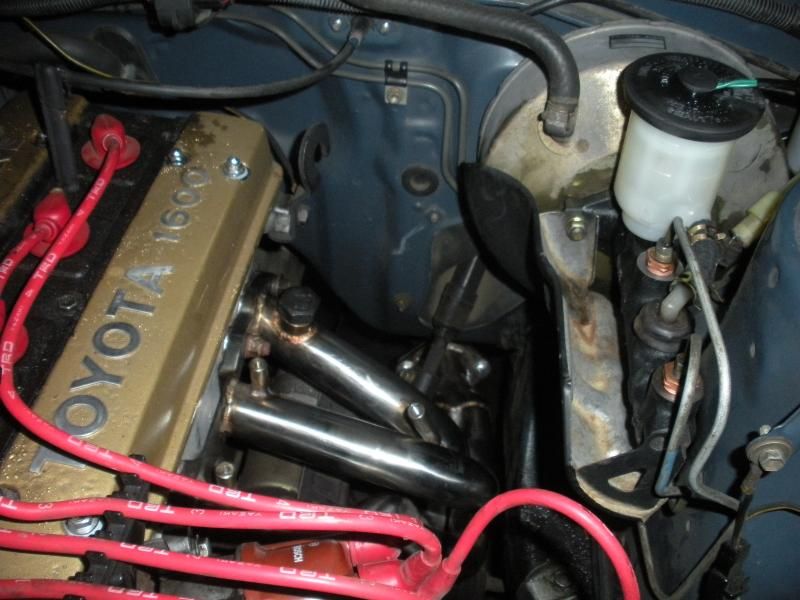
After the brakes, I put in NGK Iridium plugs.
Image

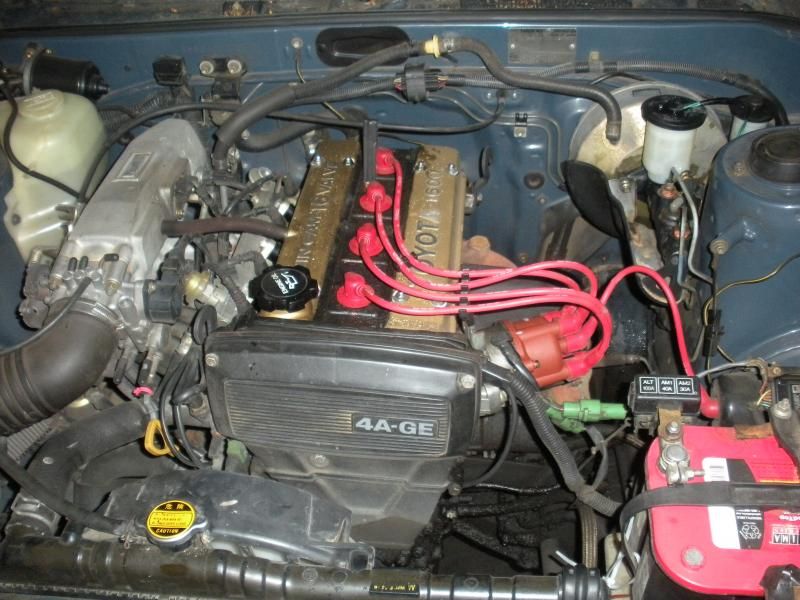
Next, I spent my time taking the clutch master out and Steven took the stock exhaust manifold out.
Image
Image
Image

No-name header I purchased. Beats an exhaust leaking into the cabin making me dizzy! Clutch Master on top left.
Image

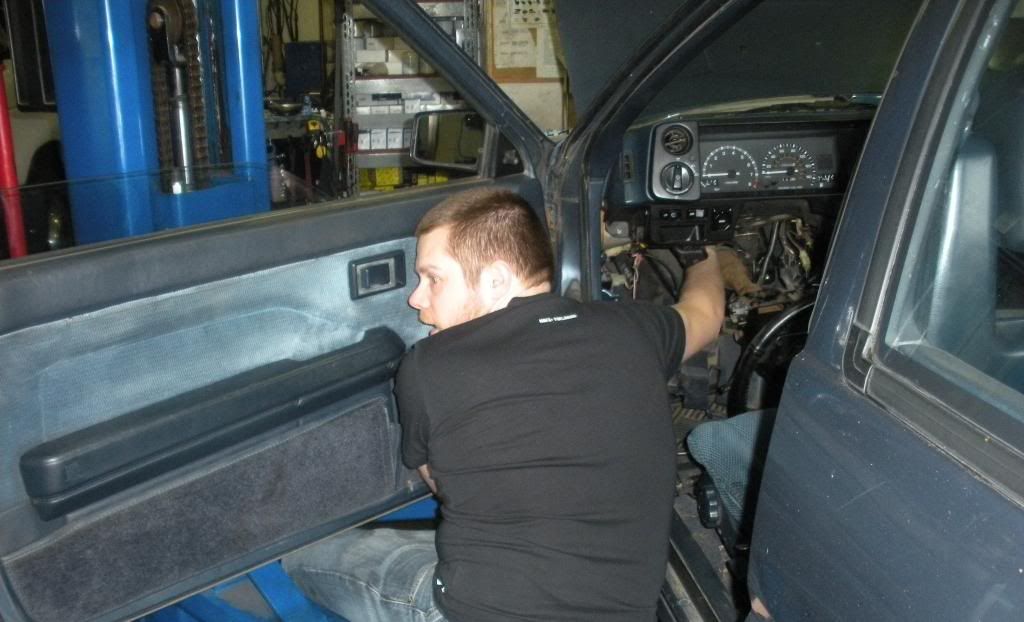
I have the new clutch master in, now I am tightening everything up.
Image

Steven had the top half of the manifold in, spent some time grinding out the two stud holes because they weren't exactly right.
Image

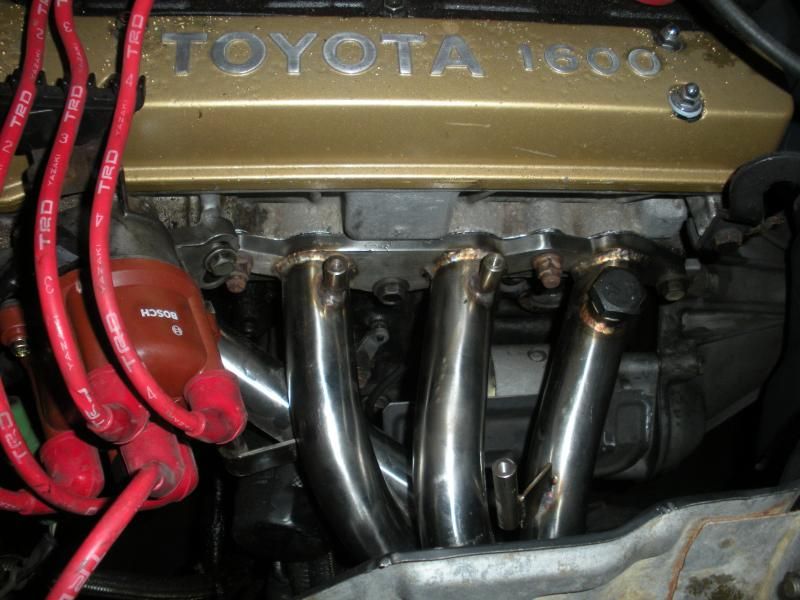
Tightening up the last two bolts to the exhaust.
Image

This manifold did hit on the lower part of the firewall. Nothing a ballpeen hammer couldn't take care of.
Image


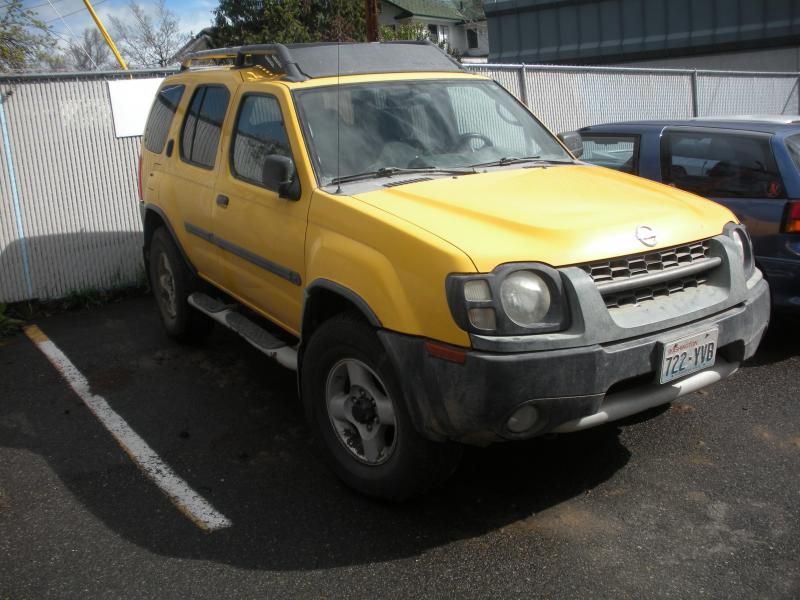
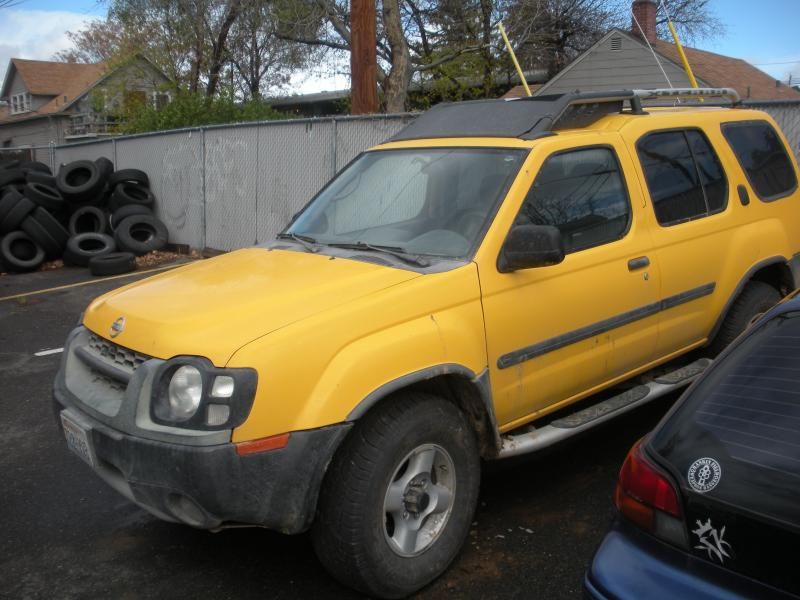
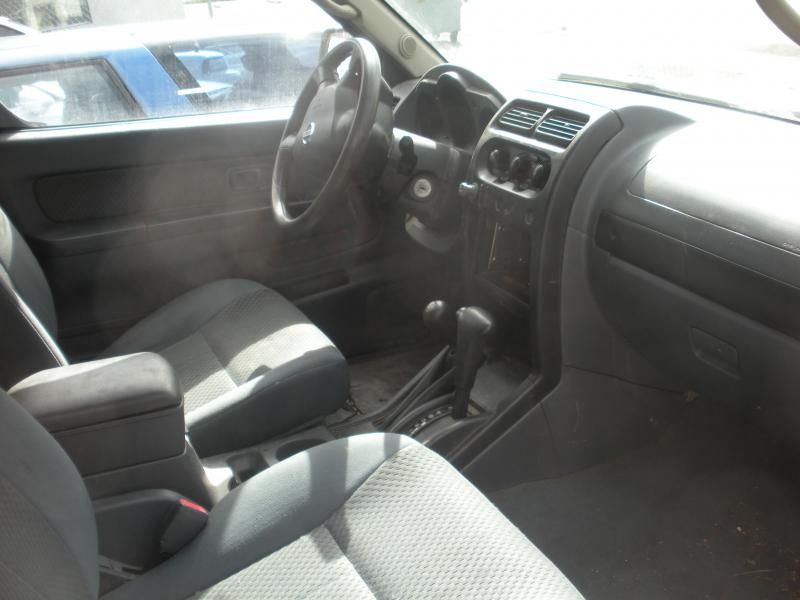
I also had purchased this from a customer recently. It has a bad crank, I will be putting a new motor into it and refreshing it for my girlfriend to drive. It needs a thorough cleaning, new interior parts, some POR15 on the underside and skid-plates. Its going to be our adventure rig.
Image
Image
Image


Next on the agenda
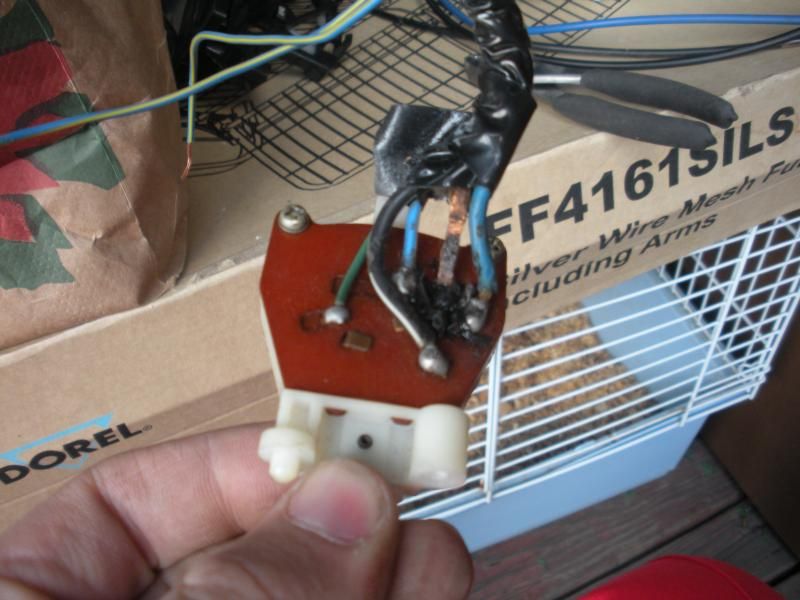
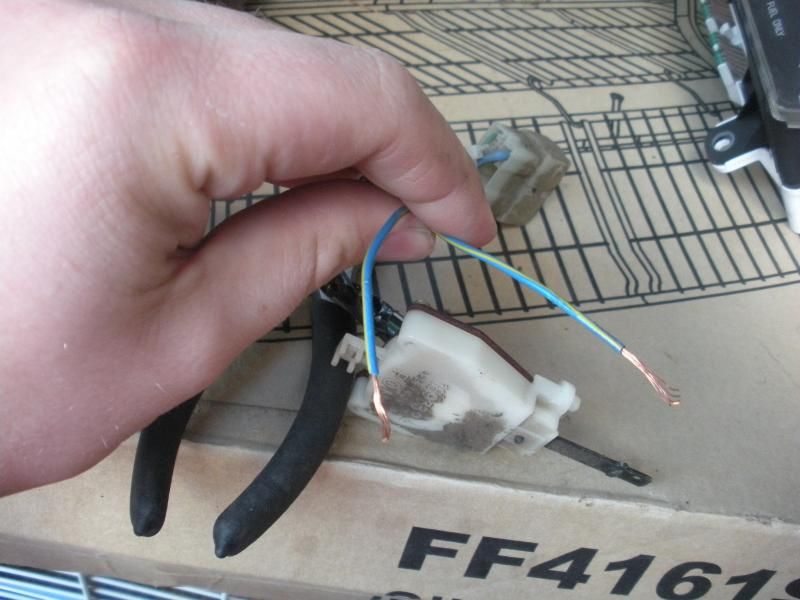
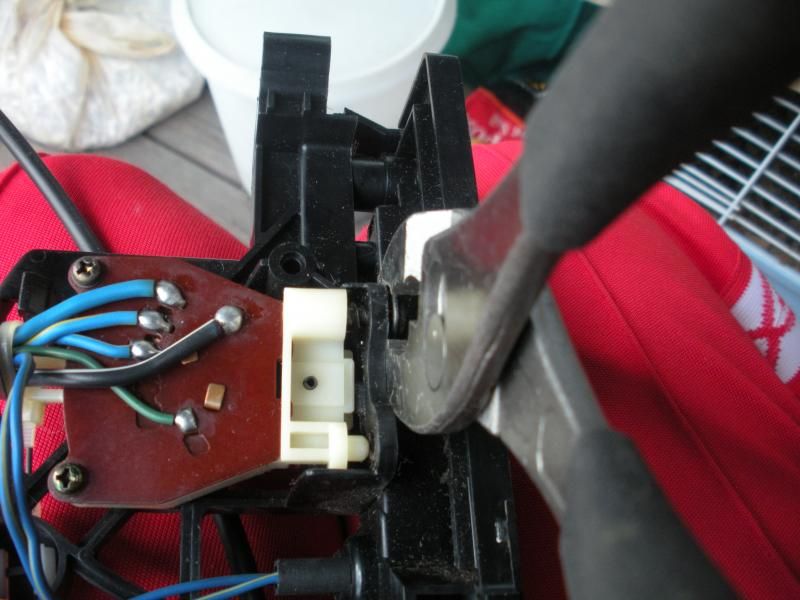
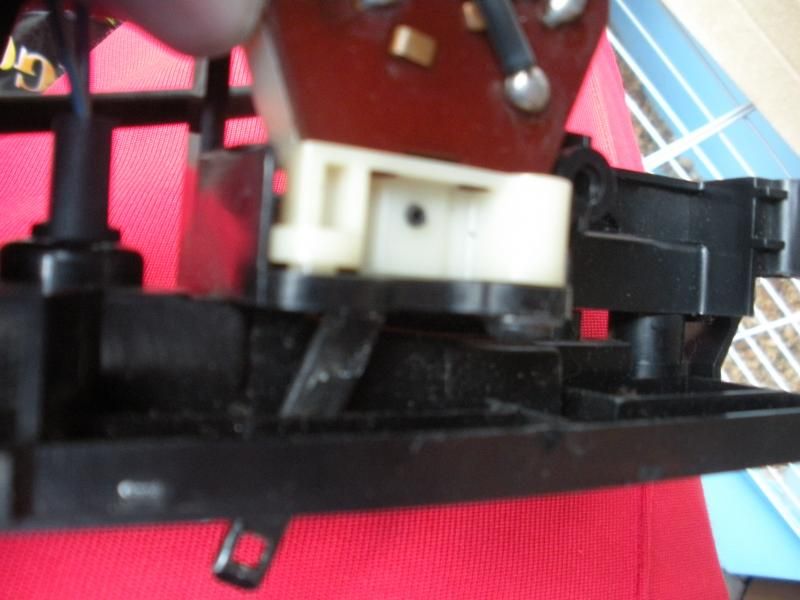
Distributor Rebuild, the current one leaks oil fairly bad. - ordered and arrived
Bushing kit install
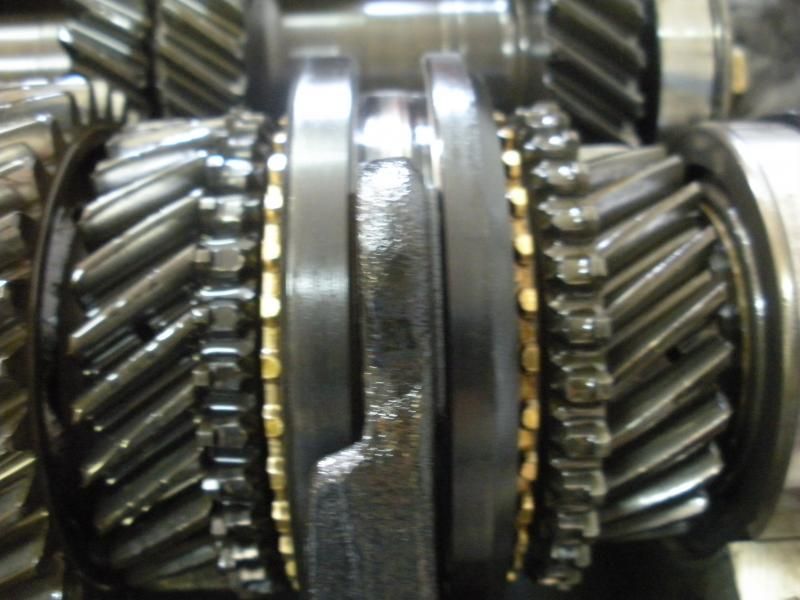
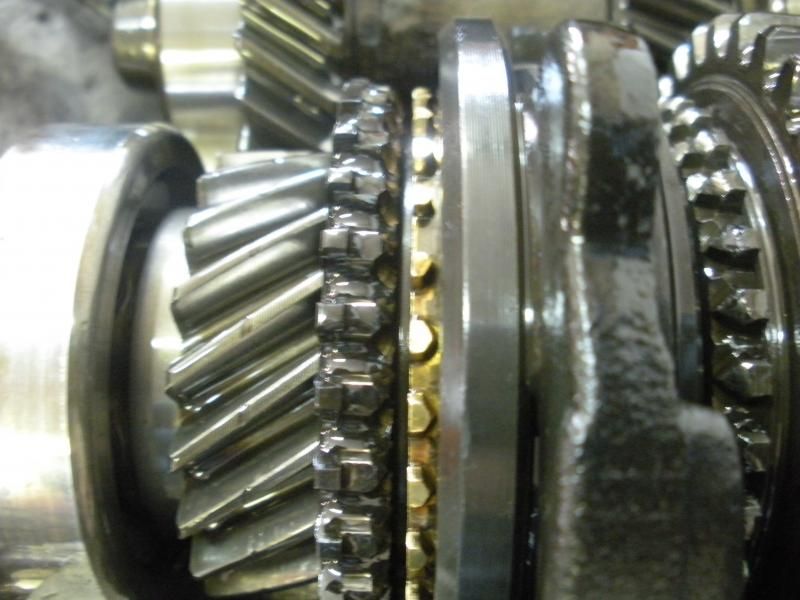
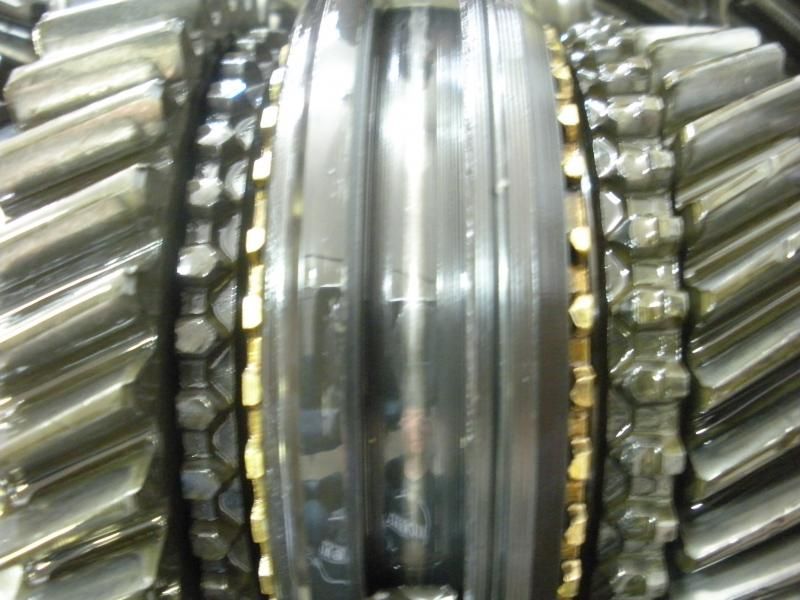
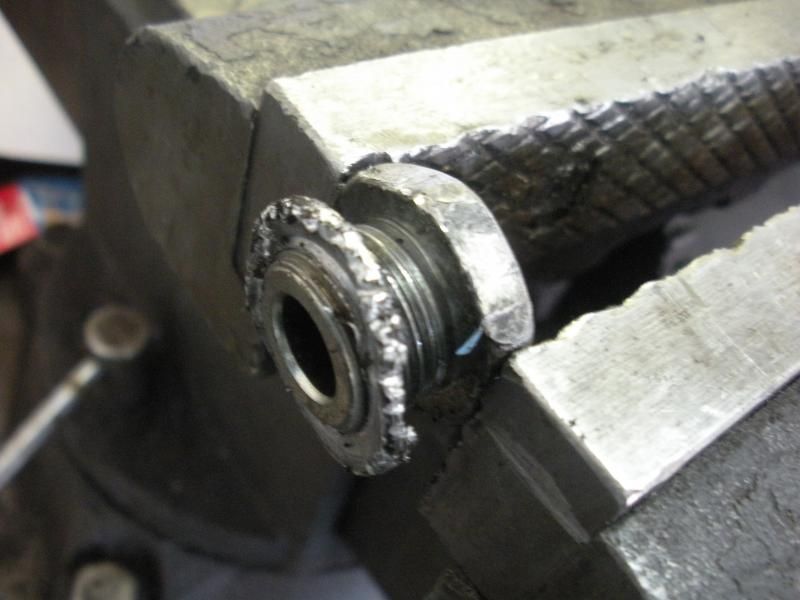
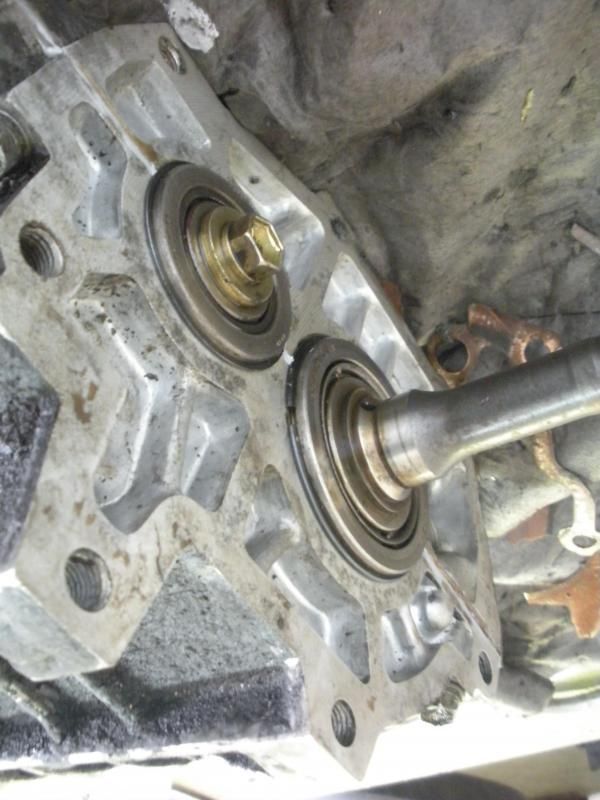
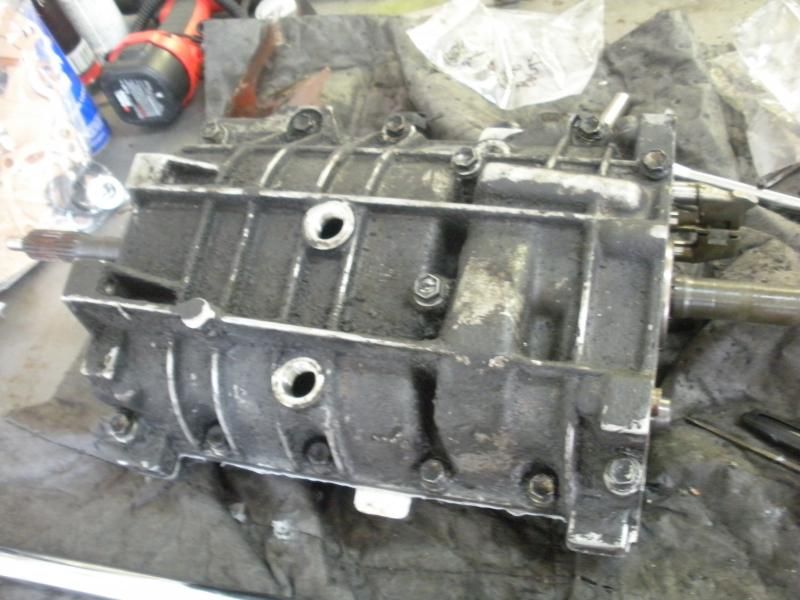
T50 Inspection and breakdown, new seals and install
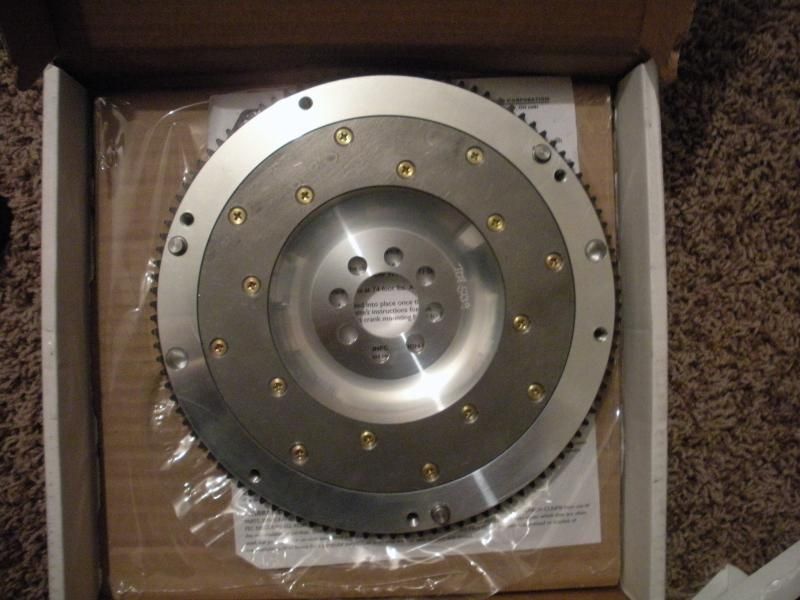
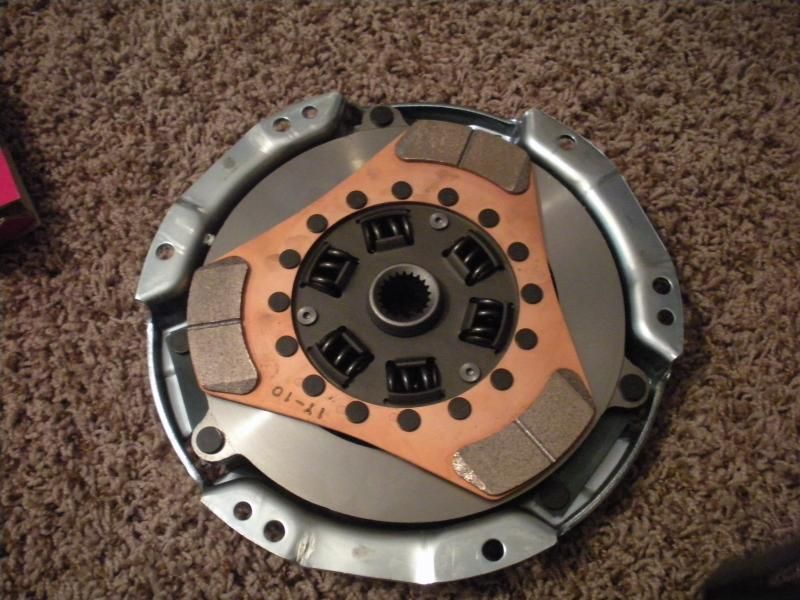
New clutch and flywheel - Would need to order, going with a 212mm
Water Pump Install - have a brand new one
Hunt down a manual steering set-up
Freshen up the interior

dr.occa
Hades - Site Admin
Posts: 7733
Joined: Tue Sep 04, 2007 1:49 pm
Location: On my hiney...in HOU
Contact:

Re: It's called 'Put-put'

Post by dr.occa »

Great thread Allen. What ever became of the F22 setup?

allenpdx
Tourist
Posts: 14
Joined: Wed Apr 10, 2013 9:38 pm

Re: It's called 'Put-put'

Post by allenpdx »

It was sold as a whole unit back in 2008. I was starting a business and needed all the capital I could get. My business closed in mid 2010. I do regret that I parted out my car, thinking back I could have done it differently.

UncleTonyBerman
Member
Posts: 354
Joined: Mon Jul 11, 2011 12:29 pm
Location: North Dallas
Contact:

Re: It's called 'Put-put'

Post by UncleTonyBerman »

nice build up and history... now next to that yellow adventure rig, is that a geo storm wagon???
Image

Hatemy7
Member
Posts: 154
Joined: Wed Oct 14, 2009 5:24 pm
Location: Houston
Contact:

Re: It's called 'Put-put'

Post by Hatemy7 »

Welcome and damm you know your stuff seriously!!

allenpdx
Tourist
Posts: 14
Joined: Wed Apr 10, 2013 9:38 pm

Re: It's called 'Put-put'

Post by allenpdx »

UncleTony: It is a Geo Storm Wagon! Its my co-workers, has a blown headgasket. It is the 1.8L motor.

Hatemy7: Thanks, I know a little bit about these cars. Lots of mistakes made in my past. I can still learn more about them.

UncleTonyBerman
Member
Posts: 354
Joined: Mon Jul 11, 2011 12:29 pm
Location: North Dallas
Contact:

Re: It's called 'Put-put'

Post by UncleTonyBerman »

awesome.... your cars are pretty sweet
Image

joel26
VIP Member
Posts: 2069
Joined: Wed Jan 23, 2008 10:30 pm
Location: Spring Tx
Contact:

Re: It's called 'Put-put'

Post by joel26 »

Welcome... nice car........
Image

allenpdx
Tourist
Posts: 14
Joined: Wed Apr 10, 2013 9:38 pm

Re: It's called 'Put-put'

Post by allenpdx »

I have had this idea in my head for a while.
Whenever I start my car, it seems as if every piece of plastic rattles. There are some especially nasty rattles coming from the hatchback area. Today I took out all of the hatch plastics, cleaned them up and put felt discs on the bolt holes and plastic keeper holes.
Now, there is no vibration coming from the hatch area, just the dash! :lol:

I had wanted to use Thermo-tec - Thermo-guard FR one sided foil on all of the plastics around the car between the plastic and the body. My goal, as lofty as this may sound, is to have a quiet interior. Very likely the opposite of what everyone else on this forum wants. But I don't care.
Image

Today:
Here are all the rear plastics out ready to be cleaned and getting the felt discs put on.
Image

These are the felt discs that I am putting at every bolt hole. I don't have a normal sized hole punch, just something I stole from the girlfriend. I would make a hole and bore it out with a phillips screw driver. However I could to get this idea to work!
Image

While cleaning the rear speaker mounts, I couldn't get the color to come back. They are too damaged by UV rays. They scratch easily and hardly responded to any of my Novus brand plastic cleaners or Megulairs dash cleaner. At some point I either need to replace these, paint them or wrap them in vinyl.
Image
Image
Here is one after I spent 20 minutes with 4 different plastics cleaners...
Image

Putting on the felt discs.
Image
Image

On the larger panels the foam was coming off. Sprayed with my trusty super90!
Image
Image

On the panels that detach to service the tail lights, I cut the discs in half and stuck them on the side where the tabs insert first to make the panel taught.
Image
Image

Last part of the hatch was the spare jack cover, and it was warped. Not sure how but I had to do something with it. I had some weatherstripping from the winter left over. I believe it was 1/2 inch by 1/2 inch. It is a very effective foam stripping. I peeled off the old strip of foam slowly, it came off in 4 pieces.
Image
Image
Image
Image

I had bought a blue drivers side kick panel from a friend and it was time to put it in! It was a bit dirty when I got it.
Image
A slight crack, I used some super glue on it. The old kick panel which I should have taken a picture of had a hole in it and several cracks.
Image

I went out for a test drive and there are NO rattles coming from the back!
There are all sorts of rattles coming from the dash!

Next things to address, getting a AISIN clutch master - the one I installed doesn't have enough 'throw' to fully engage the clutch. I believe the bolt coming out of the cylinder is shorter than it should be. I have had this problem before and solved it with a factory clutch master, which I should have done in the first place. :rolleyes:
I have my Distributor rebuild kit, so that will also get done this week.

joel26
VIP Member
Posts: 2069
Joined: Wed Jan 23, 2008 10:30 pm
Location: Spring Tx
Contact:

Re: It's called 'Put-put'

Post by joel26 »

that looks like a good idea... that will go on the to do list....
Image

dr.occa
Hades - Site Admin
Posts: 7733
Joined: Tue Sep 04, 2007 1:49 pm
Location: On my hiney...in HOU
Contact:

Re: It's called 'Put-put'

Post by dr.occa »

Great work around/fix allenpdx. :tu:

allenpdx
Tourist
Posts: 14
Joined: Wed Apr 10, 2013 9:38 pm

Re: It's called 'Put-put'

Post by allenpdx »

I have had a climate control panel with cables for a week now, today I decided to install it.

Here is the one that came out of the car:
Image

The clip that controls the heat/cool function was broken.
Image

To my surprise the other black cable also came off and didn't have a clip holding the cable down. leaving the recirc/fresh cable as the only one that worked properly.
Image

The off/low/med/high switch on the new assy was broken, it only had off/low/med. Something internal to the switch was bad, along with the light wiring being cut and looks like a burn mark on the back.
Image
Image
Image

There is a screw holding in the off/low/med/high switch, but no way to put a screw driver on it. This was the only way I could get it off. Very slowly.
Image

Even with the new switch fully tight it still moved when you select a position. I used some super glue on the pin and left it alone for 15 minutes.
Image

Newish heater control panel ready to go back in.
Image

I had tried to get the other panel cover off, but it cracked almost immediately. I will have to put up with this for now.
Image


After installing I have one little snag, the cool/heat switch doesn't fully go to cool. It goes most of the way, I may have ran the cables incorrectly. When I go back into the dash later on I will try and reroute the cables so it operates smoother. Everything else works great! Now I have defrost selector and heat again! It would only blow cold air at my feet before!

dr.occa
Hades - Site Admin
Posts: 7733
Joined: Tue Sep 04, 2007 1:49 pm
Location: On my hiney...in HOU
Contact:

Re: It's called 'Put-put'

Post by dr.occa »

:tu: - yeah, with the cool>heat cable I usually undo the cable hold at the firewall and open the valve all the way open. Then I make sure the heat control is all the way hot. Finally I re-secure the little clip hold on the cable (at the firewall just so there's no confusion about which one I'm referring to).

User avatar
JDM AE86
Member
Posts: 1078
Joined: Thu May 14, 2009 11:10 pm
Location: jersey village
Contact:

Re: It's called 'Put-put'

Post by JDM AE86 »

cool pics man. I think Im too ADD to do step by step pics hahaha
http://facebook.com/86levin

allenpdx
Tourist
Posts: 14
Joined: Wed Apr 10, 2013 9:38 pm

Re: It's called 'Put-put'

Post by allenpdx »

I had a random dying issue where it seemed as if the injectors would shut off. The RPMs drop off slowly, check engine light pops on and the car dies. I am able to immediately start it up afterward, no check engine light and runs like normal.

What was found was an overheating EFI relay in the fuse block. I had ran the car for just under 5 minutes to drive home from work, popped the fuse block to look at the relays and touched the EFI one and nearly burnt myself. I am honestly surprised that it had not melted the plug, fuse block or had started a fire. I have put in a new one today and even on deceleration it doesn't buck and fight with me. It was somewhat warm when I got home but I didn't burn myself!

I am bouncing through a couple different projects.

I have a brown dash board completely taken apart and I plan on wrapping it with real leather in black and slowly but surely transition to a black interior.
The owner of this Miata has me captivated with his interior transition.
http://revlimiter.net/blog/2012/09/the- ... nstall-pt2
I would like to add a similar set up with additional gauges, but most of my ideas have absolutely ruined the stock look of the dash board. I also do like to use all of my vents and have ruled out plugging some of them up.
The pictures of the dash tear down and vent removal are boring and really only serve as reference right now. Anyone have ideas?

Second project is removing the power steering rack and replacing with a manual rack. I have found a MK3 Supra intermediate shaft to use. Now to find a stock AE rack or MR2 rack. I really don't care which at this point, I have a couple bad tie rods and the car pulls to the right. Manual steering was planned on since the beginning.

Lastly and most important of my mini projects is the new clutch/flywheel and replacement transmission. I also purchased a shifter bushing kit from T3.
I tore down a new-to-me T50 to inspect the gears and syncros today. If any of the syncros were badly damaged I would have gone ahead and replaced them. I really didn't want to push back this install anymore than it already has, but after inspecting them for a good 20 minutes I had found very little wear. Huge sigh of relief that I can get some more mileage out of this transmission before spending a couple hundred on a rebuild. This was attached to a 4ac in its former life, so it had little abuse.
Image
Image
Image
I had purchased a reseal kit for this transmission... well the fill plug didn't want to give up its washer very easily. I almost mistook it as washer-less.
Image
Cleaned up the mating surfaces as best as I could.
Image
Our parts washer at work went down on Friday. Heating element corroded...
So on Monday this will get put into the parts washer and filled with some oil until I install it.
Image

Image

Image

Clutch got finished last night after work. I started taking it apart on Friday before Memorial Day weekend, went to the coast, came back late Monday and had no choice but to stay late at work and finish it with my co-worker.

The clutch feels great, flywheel is noticeable during acceleration and revving but the absolutely best part and the cheapest was the T3 shifter rebuild kit. Its not sloppy, easy to tell which gear you're in. I love it.

New to me transmission feels great, downshifts w/o grinding and is crisp and clean!

There aren't any cool photos of install, was too busy to do so.

Rundown:
New Rear main seal
ARP bolts
lightweight flywheel
stage 2 clutch
new seal kit for T50
better condition T50
shifter rebuild kit

Post Reply