DIY How to Build Velocity Stack ITB Screens
Posted: Mon Apr 11, 2011 4:07 am
I stumbled upon this on an old forum i was on.....figured id share it here.
original article here V
http://corollacarclub.com/forum/showthr ... post143853" onclick="window.open(this.href);return false;
things needed......
roll of gasketmaker-$10
rtv silicon- $7
aluminum screen- $8
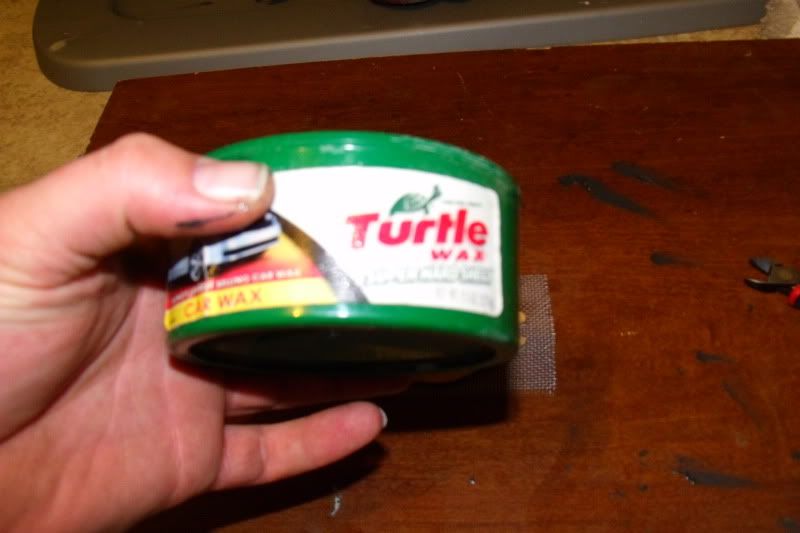
turtle wax , or equal$2
scissors
razor knife
total cost $27 , keeping that high spirited pebble from being sucked in at 7600 rpms...PRICELESS!!!
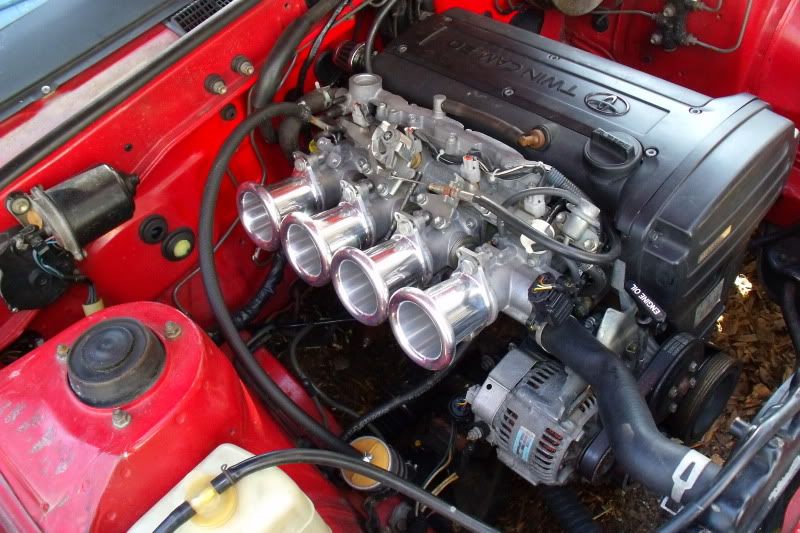
this is the basic idea of this DIY........most of you guys with the 20v most likely are running open itb's.....because the sound is awesome as well as the added hp up top from the flow. this is best achieved without filters and with velocity stacks....however we all know what no filters can do to an engine. while this wont catch fine particulates it will keep things like , pebbles , bugs , engine bay debris , feathers , and the likes of things you will encounter on the road at the most unwanted time....
this is the basic idea we are achieving here.....
start out by removing one of your velocity stacks off your engine.....
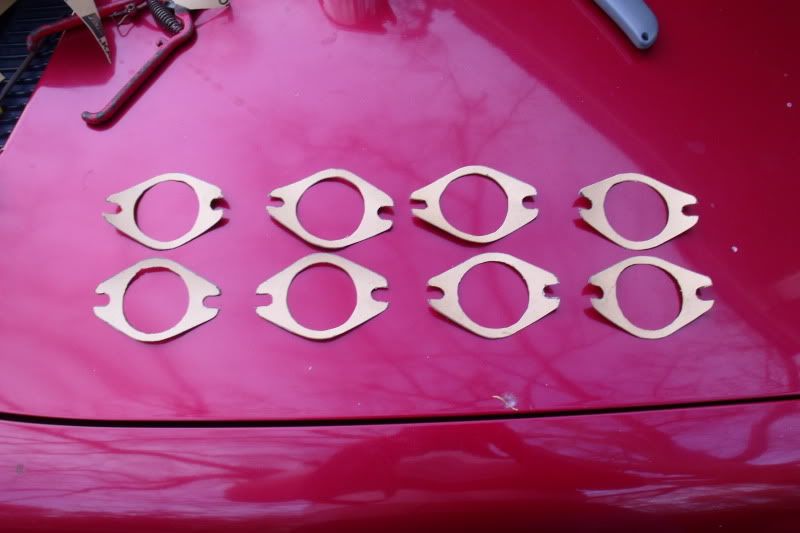
now using your gasket maker roll ,unroll it and trace out the shape of your velocisty stack...
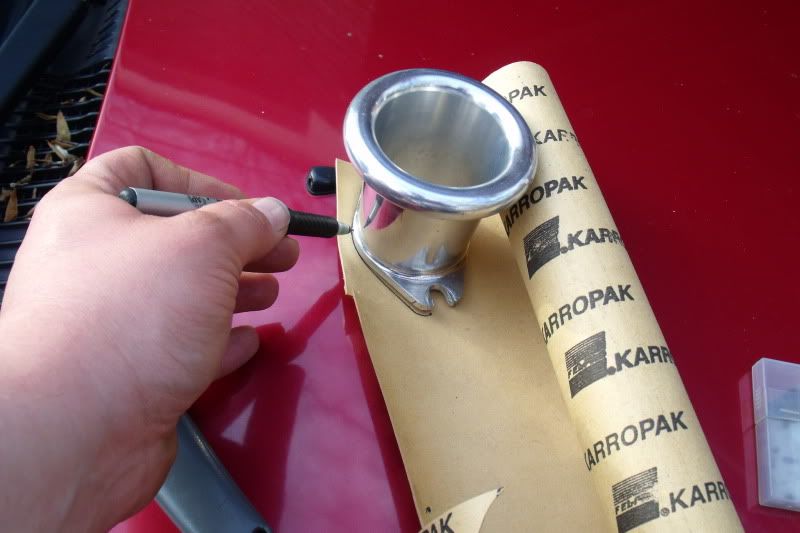
do this 8 times...
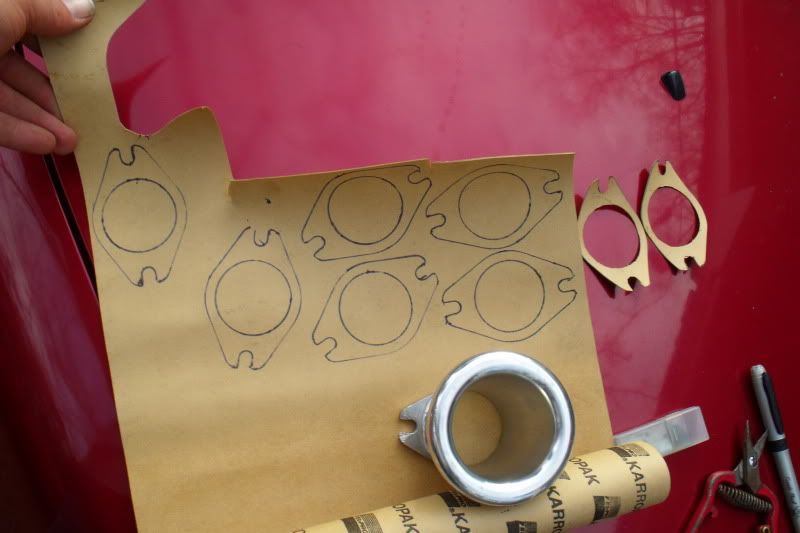
using your scissors , cut them out....

using a razor knife, cut out the middles , and bolt areas....(do not do this on your wifes car hood!!!)
now , unrap that package of aluminum screen...
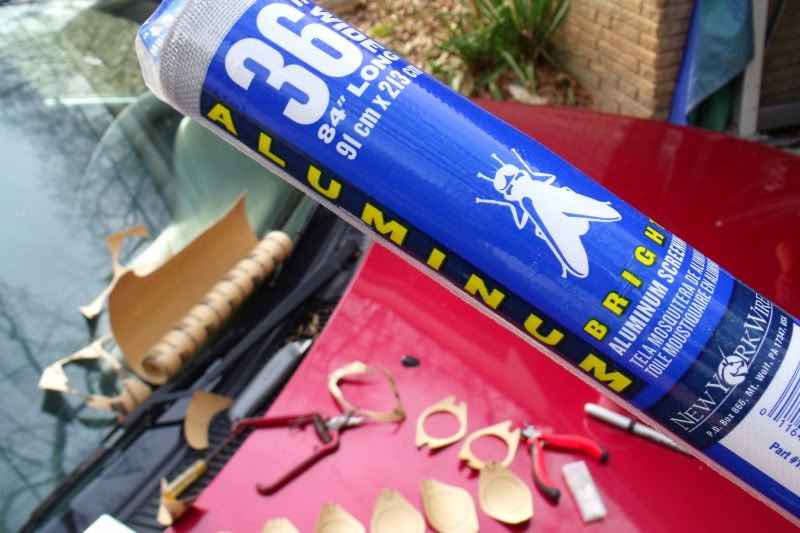
cut out a rectangle of screen just larger than the gaskets youve made.
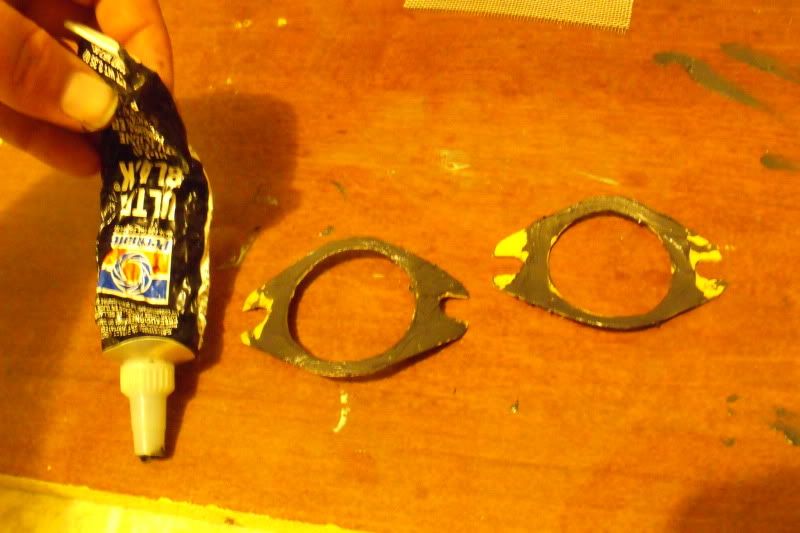
lay the gasketa on a solid flat surface, and apply rtv silicone to the face of each side lightly....but evenly.
tske your turtle wax.....spread it abundantly on the surfaces of the flat surface you plan on using, this will keep the rtv from curing to the surface.
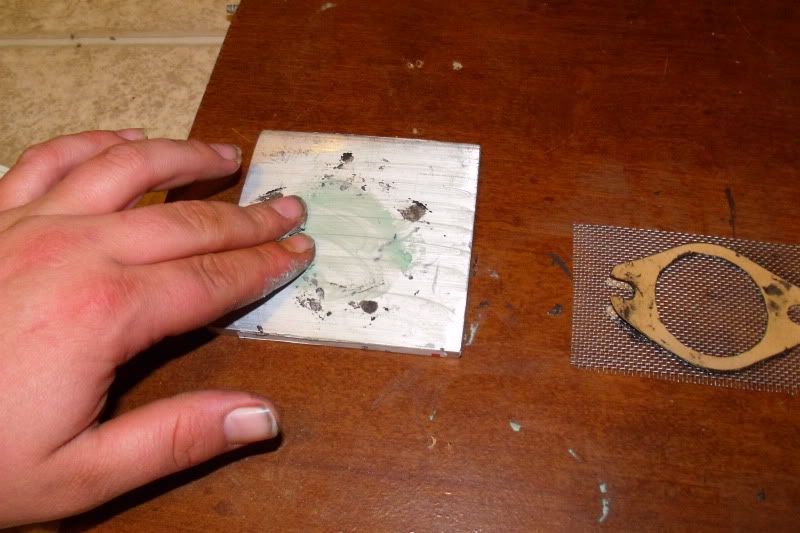
now lay one gasket on wax area, then evenly and squarely lay your rectangular piece of screen onto it.....
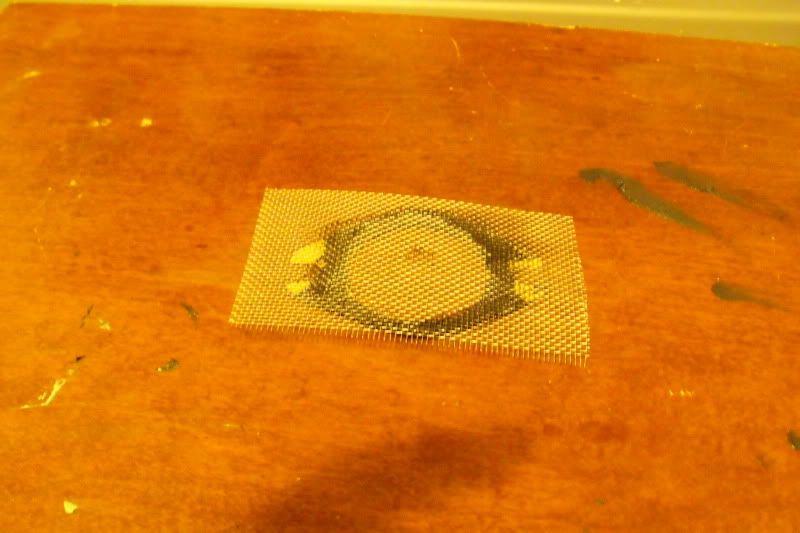
now take other gasket and lay it rtv side down ontop , trying to be as even as possible with the bottome piece....this will take some adjusting , after you lay it close, the rtv is tacky enough that you can carefully pick up the piece and fine adjust the gasket to line up.
now using another flat piece that you have also applied wax to , lay it wax side down on your creation thus far. then use something heavy to compress , in my case i used a long awaited aluminum plate and one of my wifes concrete garden frogs.
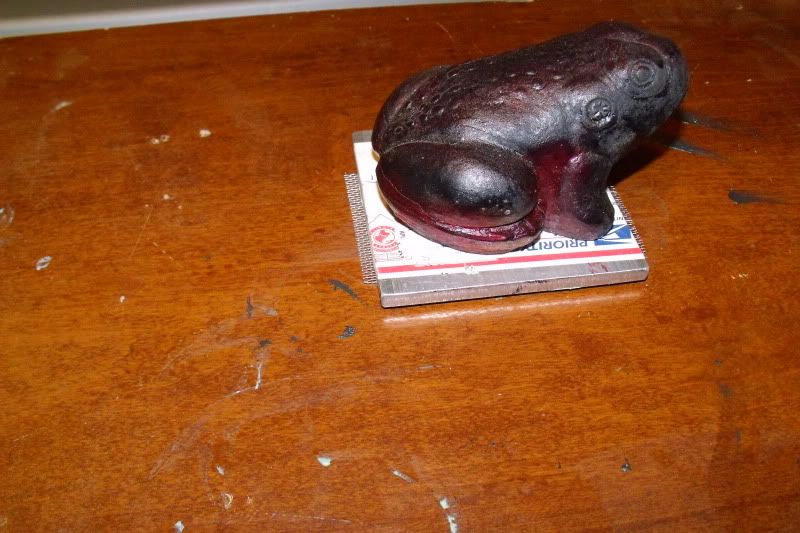
try and let dry over night , or at least 24 hours.....remove frog...well...weight.
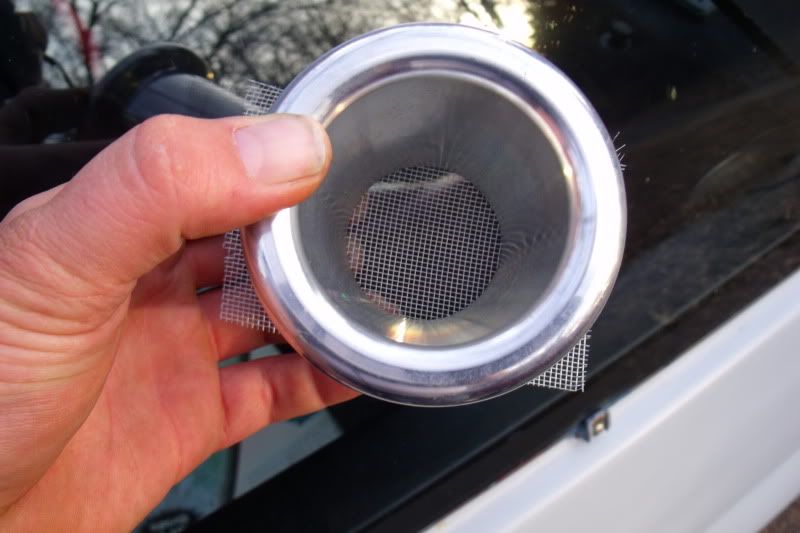
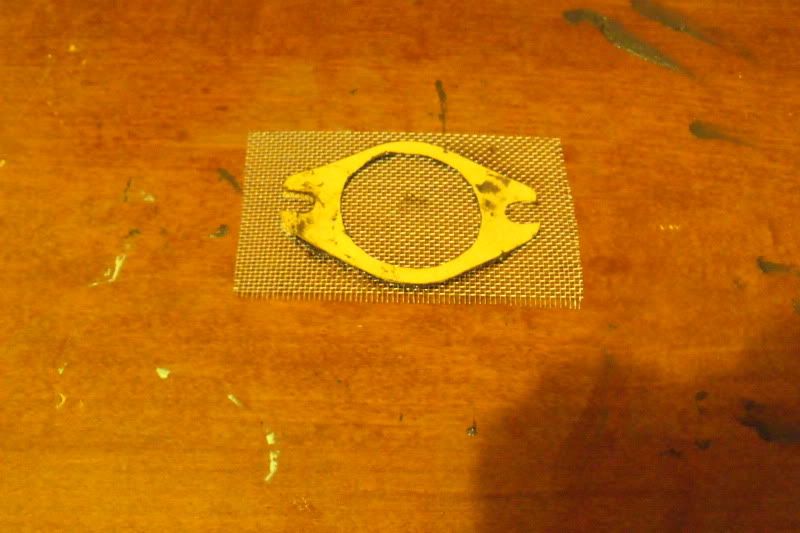
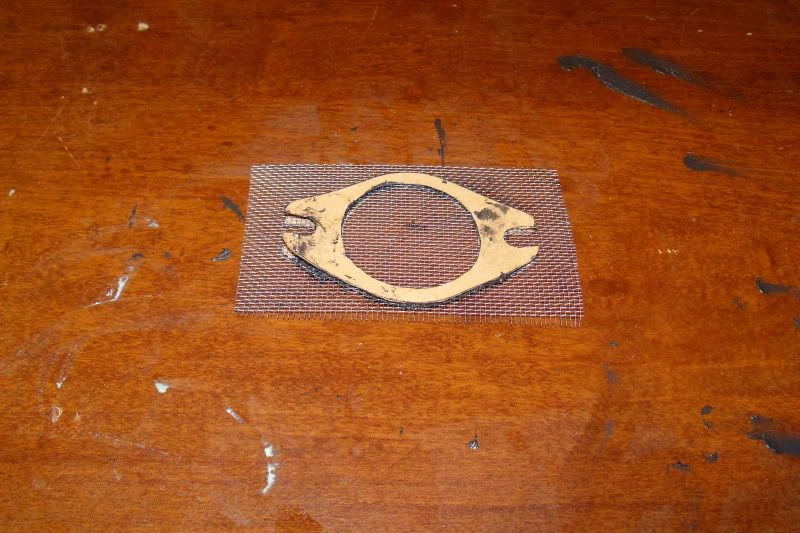
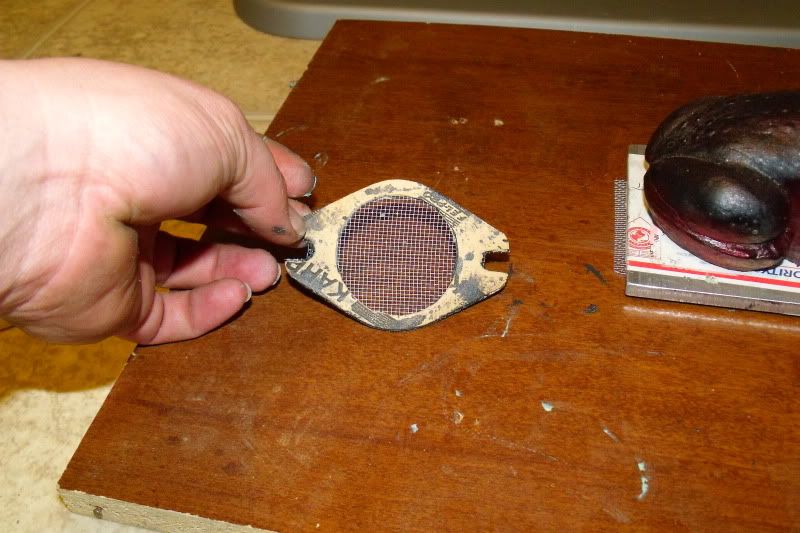
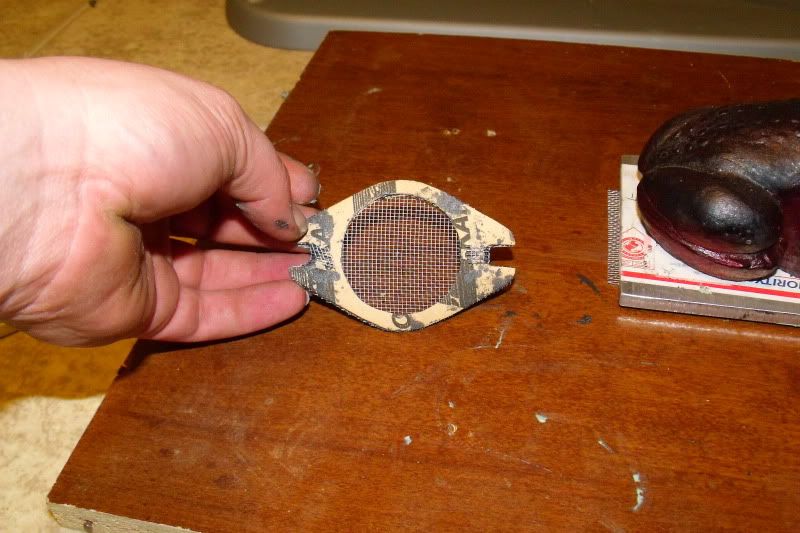
and you should have one solid piece.
using your scissors , trim the excess screen off of the outside of the new comptraption....you should now have something that looks like this...
original article here V
http://corollacarclub.com/forum/showthr ... post143853" onclick="window.open(this.href);return false;
things needed......
roll of gasketmaker-$10
rtv silicon- $7
aluminum screen- $8
turtle wax , or equal$2
scissors
razor knife
total cost $27 , keeping that high spirited pebble from being sucked in at 7600 rpms...PRICELESS!!!
this is the basic idea of this DIY........most of you guys with the 20v most likely are running open itb's.....because the sound is awesome as well as the added hp up top from the flow. this is best achieved without filters and with velocity stacks....however we all know what no filters can do to an engine. while this wont catch fine particulates it will keep things like , pebbles , bugs , engine bay debris , feathers , and the likes of things you will encounter on the road at the most unwanted time....
this is the basic idea we are achieving here.....
start out by removing one of your velocity stacks off your engine.....
now using your gasket maker roll ,unroll it and trace out the shape of your velocisty stack...
do this 8 times...
using your scissors , cut them out....
using a razor knife, cut out the middles , and bolt areas....(do not do this on your wifes car hood!!!)
now , unrap that package of aluminum screen...
cut out a rectangle of screen just larger than the gaskets youve made.
lay the gasketa on a solid flat surface, and apply rtv silicone to the face of each side lightly....but evenly.
tske your turtle wax.....spread it abundantly on the surfaces of the flat surface you plan on using, this will keep the rtv from curing to the surface.
now lay one gasket on wax area, then evenly and squarely lay your rectangular piece of screen onto it.....
now take other gasket and lay it rtv side down ontop , trying to be as even as possible with the bottome piece....this will take some adjusting , after you lay it close, the rtv is tacky enough that you can carefully pick up the piece and fine adjust the gasket to line up.
now using another flat piece that you have also applied wax to , lay it wax side down on your creation thus far. then use something heavy to compress , in my case i used a long awaited aluminum plate and one of my wifes concrete garden frogs.
try and let dry over night , or at least 24 hours.....remove frog...well...weight.
and you should have one solid piece.
using your scissors , trim the excess screen off of the outside of the new comptraption....you should now have something that looks like this...